
This crystal snowflake decoration captures the magic of winter, with brilliant shine and intricate detail for your tree, a window or a festive centrepiece. This step-by-step guide shows you how to bead a wire snowflake frame with Swarovski crystal beads and add a lacy wire-and-bead filigree between the arms for that elegant, frosted finish.
It is a more advanced wire project, but every stage repeats around the six arms, so it builds up steadily. Here is everything you need, then the full method.
Project at a glance
- Difficulty: Intermediate (wire work and beaded filigree)
- Time: A couple of hours
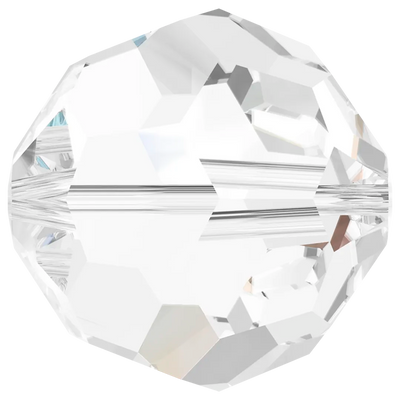
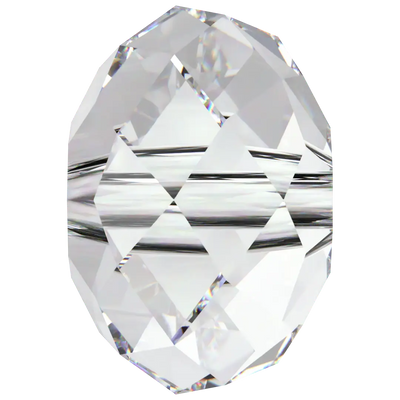
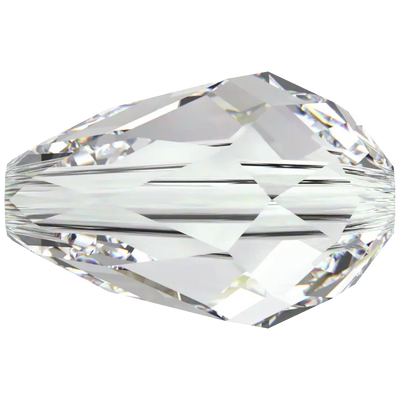
- Crystals used: Swarovski 5000 round beads, 5040 briolettes and a 5500 pear drop, in clear crystal
- Technique: Beaded six-arm wire frame with a fine-wire filigree
Watch the tutorial
See this project come together. Watch the full make below, then scroll down for the kit list and step-by-step instructions.
What you'll need
Quantities make one snowflake. Add the beads, wire and tools to your cart from the cards below. The pliers and trays are reusable across every project, so browse the full range of tools and accessories to build your kit.
- Snowflake wire frame (six arms)The base, see note below1
- Swarovski 5000 Round Beads, Crystal 3mmFiligree detail125
- Swarovski 5000 Round Beads, Crystal 4mmArms25
- Swarovski 5040 Briolette Beads, Crystal 4mmArms and detail20
- Swarovski 5040 Briolette Beads, Crystal 6mmArms and detail20
- Swarovski 5040 Briolette Beads, Crystal 8mmArms15
- Swarovski 5500 Pear Beads, Crystal 12mmOne per arm6
- Artistic Wire 26 Gauge, SilverFiligree wrapping1
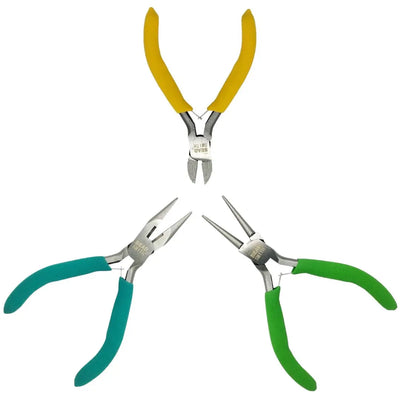
- Set of Three Jewellery PliersBending and looping1
- Magic Sorting TrayOrganising beads4
Shop this project
Everything you need for this build. Quantities are a guide, so adjust to your design.


Not sure how many crystals you need? Use our Crystal Calculator to estimate by surface area.
How to make a crystal snowflake
Step 1: Gather your supplies
Tip your beads into the sorting trays so each size is easy to reach, and have your wire and pliers to hand.
Step 2: Bead the arms
Thread beads onto each arm of the snowflake frame in this order: a 4mm 5000, an 8mm 5040, a 12mm 5500, an 8mm 5040, a 6mm 5040 and a 4mm 5040. Then bend the end of each arm over slightly so the beads stay on. Leave a little wiggle room between the beads, as you will need it for the next stage.
Step 3: Start the filigree wire
Cut a generous length of the fine 26 gauge wire. (If you run out, you can thread fresh wire through the beads to hide the ends; a crimp bead would be too visible.) Wrap the wire once around one arm, between the second and third bead from the bottom, leaving a small tail on the left to finish with later.
Step 4: Build the snowflake pattern
Thread five 3mm 5000 beads onto the wire, run it along to the third bead, and wrap once around the arm between the third and fourth beads. Add five more 3mm beads, run the wire back down along the third bead, and wrap between the second and third beads. Next thread, in order: a 3mm 5000, a 3mm 5000, a 3mm 5000, a 6mm 5040, a 4mm 5040 and a 3mm 5000. Take the wire back down through the 4mm 5040 and the last 3mm 5000 to form a point, then add three more 3mm 5000 beads. Wrap onto the next arm, between its second and third bead. Repeat all the way around the snowflake.
Step 5: Finishing touches
When you reach the first arm again, take the tail of wire you left at the start and thread it through the three 5000 beads and the 6mm and 4mm 5040 beads to close the pattern. Wrap the wire around the second and third bead of the first arm and trim the excess. Finally, use round nose pliers to turn a small hanging loop at the tip of each arm.
Swarovski crystals for the best sparkle
As an Authorised Swarovski Distribution Partner, Bluestreak Crystals supplies the complete genuine range of Swarovski beads and crystals, sourced directly from Austria with consistent batch quality and reliable colour matching, so every bead in your snowflake catches the light beautifully.
Frequently asked questions
How do you make a crystal snowflake decoration?
Start with a six-arm wire snowflake frame and thread graduated crystal beads along each arm. Then take a finer wire and add the connecting filigree between the arms, wrapping it around the frame and threading small beads to build up the lacy snowflake pattern.
What beads work best for a crystal snowflake?
Clear faceted beads give the icy, light-catching look snowflakes are known for. We used Swarovski 5000 round beads, 5040 briolettes and a 5500 pear drop, graduating the sizes along each arm so the snowflake tapers neatly to its points.
What wire do I need for a beaded snowflake?
Two parts: a firmer wire or a ready-made snowflake frame for the six arms that hold their shape, and a fine wire around 26 gauge for the detailed filigree between the arms. The fine wire bends easily and hides neatly among the small beads.
Is a crystal snowflake hard to make?
It is an intermediate wire project. Beading the arms is straightforward, but the connecting filigree between them takes patience and a steady hand. Work one arm at a time, leave a little wiggle room between beads, and it comes together with practice.
How do I hang the snowflake?
Use round nose pliers to turn a small loop at the tip of one arm, then thread a ribbon, thread or ornament hook through it. The beaded arms are light, so a fine loop is plenty to hang it on a tree or in a window.
Can I change the colours?
Yes. Clear crystal gives a classic icy snowflake, but Aurora Borealis, blue or silver tones look beautiful too. We used premium Swarovski here, and you can also use our own Austrian-made Serinity, Czech-made Preciosa or budget Estella beads.
Make it your own
Try Aurora Borealis or blue beads for a frostier look, or scale the design up for a statement piece. For more decorative crystal craft, see our crescent moon suncatcher and Christmas bauble projects, or explore the full Craft Studio.


