
To bedazzle a Christmas bauble, you pipe a thin line of resin glue, let it turn tacky, then place flatback crystals along it with a wax picker, building concentric rows that follow the curve until the bauble is covered. In this tutorial we crystallise a bauble with Preciosa flatback crystals in Light Siam AB and Light Sapphire AB, just over 2,000 stones of genuine Czech-made sparkle.
Full coverage takes patience, but the concentric line technique is very forgiving on a sphere, and the finished ornament becomes the showpiece of the tree for years. Here is everything you need, then the full method.
Project at a glance
- Difficulty: Beginner friendly, but full coverage takes patience
- Time: A few relaxed hours of placing, plus drying
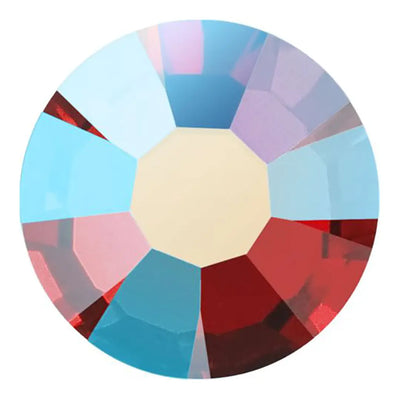
- Crystals used: Preciosa flatback rhinestones in Light Siam AB (SS16) and Light Sapphire AB (SS12)
- Technique: Concentric line flatback embellishment with resin glue
What you'll need
Quantities gave full coverage of the bauble shown, so scale to yours. Add the crystals, glue and tools to your cart from the cards below. The picker, tray and syringe are reusable across every project, so browse the full range of tools and accessories to build your kit.
- Your bauble, clean and dryLightly sand shiny plastic if going for full coverage1
- Preciosa Rhinestones Non Hotfix SS16, Light Siam ABMain coverage rows1440
- Preciosa Rhinestones Non Hotfix SS12, Light Sapphire ABAccent rows600
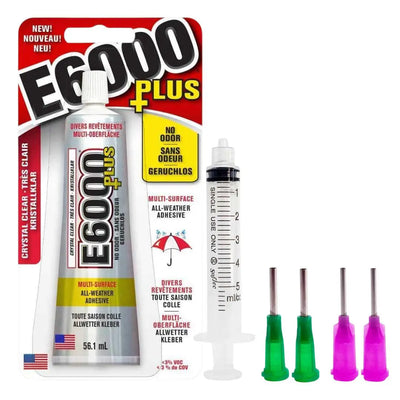
- E6000 Plus Glue Kit (glue, syringe and tips)Bonding the crystals1
- Wax Crystal Picker ToolPicking and placing1
- Magic Sorting TrayHolding the two colours1
Shop this project
Everything you need for this build. Quantities are a guide, so adjust to your design.

From £4.31 Excl. VAT

£1.95 Excl. VAT
£9.53 Excl. VAT
Not sure how many crystals you need? Use our Crystal Calculator to estimate by surface area.
How to bedazzle a Christmas bauble
Step 1: Prepare the surface
Make sure the bauble is completely clean and dry. If the plastic is shiny and you are aiming for full solid coverage, gently sand it until there is a rough key for the glue to grip. Sanding is unnecessary for scattered individual crystals or surfaces that already have texture.
Step 2: Fill the glue syringe
Place the end of the syringe inside the nozzle of the E6000 Plus tube and pull the plunger while gently squeezing the tube. The glue transfers with minimal mess and minimal exposure to air. Only take as much as you need for the session.
Step 3: Remove air bubbles
Hold the syringe vertically so any air bubble floats to the opening at the top, then gently push the plunger until only glue remains inside. Attach a needle tip; we chose the 16 gauge purple applicator tip, which gives a smaller dot of glue for precise rows.
Step 4: Apply a thin line of glue
Squeeze out a thin line of glue onto the bauble and leave it a few minutes to get tacky. Keep the line thin: too much glue runs in unwanted directions across the curved surface. Work in small sections so you never touch wet glue while rotating the bauble.
Step 5: Place the crystals
Tip both colours into the Magic Sorting Tray so the stones settle flat side down, then place each crystal along the glue line with the Wax Crystal Picker Tool, letting each new row track the one before it around the curve. We alternated bands of Light Siam AB with accent rows of the smaller Light Sapphire AB. For a tour of other layouts, from grids to scatter ombre, see our ultimate guide to rhinestone embellishment.
Step 6: Let the glue dry
Tidy up any drifting glue, then let the bauble dry for a minimum of 2 hours; drying times vary with how thickly the glue went on. Once dry, your newly blinged bauble is ready for the tree.
Frequently asked questions
How do you bedazzle a Christmas bauble?
Clean the bauble and lightly sand shiny plastic if you want full coverage, then pipe a thin line of resin glue, let it turn tacky for a few minutes, and place flatback crystals along it with a wax picker tool. Work in concentric rows around the curve, one small section at a time, and let the glue dry for at least two hours.
How many rhinestones do I need to cover a bauble?
Full coverage of the bauble shown took just over 2,000 Preciosa crystals: 1,440 in SS16 for the main rows and 600 in SS12 for the accent rows. Bauble size and stone size change this dramatically, so measure yours first and use the Crystal Calculator on our website to estimate quantities.
Do you need to sand a bauble before adding crystals?
Only for full solid coverage on shiny plastic. Gently sanding the surface creates a rough key that gives the glue far more grip, which matters when thousands of stones share the bond. For scattered individual crystals, or a bauble that already has a matt or textured finish, skip the sanding.
What glue works on plastic baubles?
A flexible industrial-strength resin glue such as E6000 Plus. Apply it in thin lines through a fine syringe tip so it cannot run on the curved surface, and allow at least two hours to dry, longer if the glue went on thickly. Once cured the bond is strong enough for years of tree duty.
What is concentric line embellishment?
A variation on the grid style where the rows of crystals follow the curve of the object in continuous rings rather than straight lines. On a sphere it is the most forgiving layout, because each new row simply tracks the one before it and small spacing drifts disappear into the pattern.
Make it your own
Red and icy blue is a classic pairing, but a single colour in two sizes looks stunning too, or match your tree theme with golds and greens. For more festive ornament makes, see how to crystallise a Faberge-style egg and make a crystal snowflake decoration, or explore the full Craft Studio.


