

Berry chic and full of charm, this crystal and pearl bracelet brings a glamorous touch to everyday jewellery. This step-by-step guide shows you how to make one with Serinity pearls and bicone crystal beads, layered in deep berry shades for warmth, texture and shine. The result is an eye-catching piece that feels both refined and easy to wear.
It is a lovely beginner project for exploring colour and balance, and the crimp-and-clasp finish gives it a professional look. Here is everything you need, then the full method.
Project at a glance
- Difficulty: Beginner (simple wire stringing and crimping)
- Time: About an hour
- Beads used: Serinity 5810 pearls in iridescent rouge and 5328 bicones in peridot
- Finish: Two-wire design with a crimped trigger clasp
Watch the tutorial
See this project come together. Watch the full make below, then scroll down for the kit list and step-by-step instructions.
What you'll need
Quantities make one bracelet. Add the beads, pearls, wire and findings to your cart from the cards below. The pliers and trays are reusable across every project, so browse the full range of tools and accessories to build your kit.
- Serinity 5810 Pearls, Iridescent Rouge 6mmThe pearls25
- Serinity 5328 Bicone Beads, Peridot 5mmThe crystal beads20
- Artistic Wire 28 Gauge, BrassStringing1
- Sterling Silver Crimp Tubes 2mmSecuring the ends2
- Gold Plated Crimp CoversNeatening the crimps2
- Gold Plated Trigger ClaspFastening1
- Gold Plated Jump RingFastening1
- Set of Three Jewellery PliersCrimping and looping1
- Magic Sorting TrayOrganising beads2
Shop this project
Everything you need for this build. Quantities are a guide, so adjust to your design.

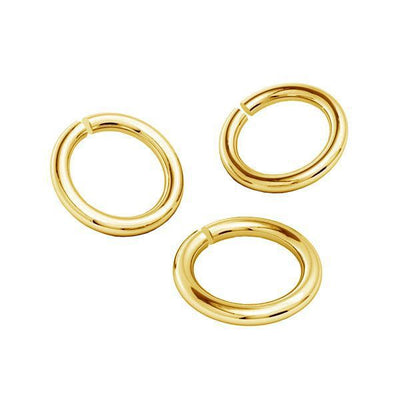
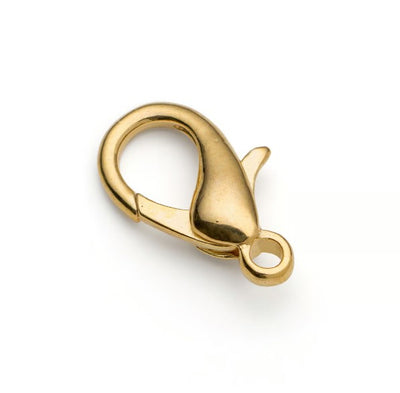
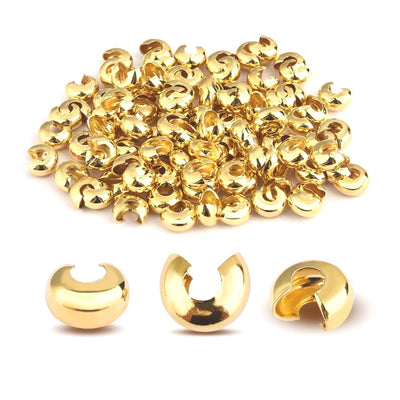
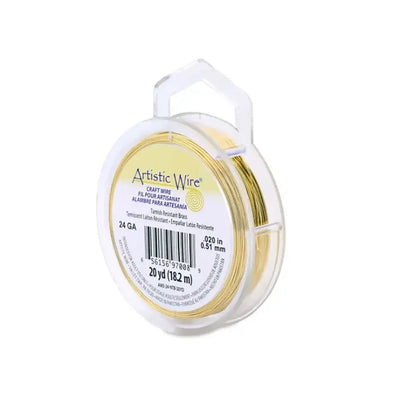
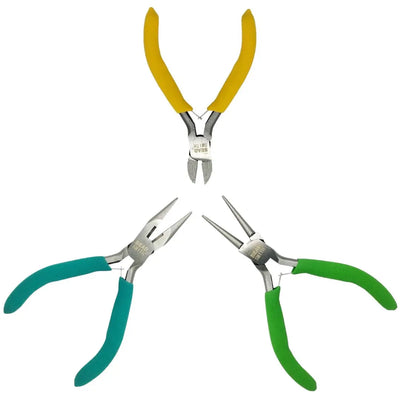
Not sure how many crystals you need? Use our Crystal Calculator to estimate by surface area.
How to make a crystal and pearl bracelet
Step 1: Gather your supplies
Tip your pearls and bicones into the sorting trays so they are easy to reach, and have your wire and pliers to hand.
Step 2: Cut the wire
Cut two equal pieces of 28 gauge wire, each roughly 25cm long. Working with two wires side by side is what gives this bracelet its fuller, two-row look.
Step 3: Attach the clasp
Holding both wires together, slide a crimp tube onto one end, leaving about 3cm of slack. Thread on the trigger clasp, fold the end back through the crimp tube to form a small loop, then squeeze the crimp flat with your pliers to lock the loop and clasp in place. Slide a crimp cover over the crimp and close it for a neat finish.
Step 4: Add the beads
Follow this repeating pattern: thread a peridot bicone through both wires, then a rouge pearl onto one wire and a rouge pearl onto the other. The shared bicones act as joining points while the pearls sit on each separate strand. Continue until the bracelet reaches your desired length, then finish with one more peridot bicone through both wires.
Step 5: Finish the other end
Thread both wires through a crimp tube, add a jump ring, then loop the wires back through the crimp tube. Squeeze the crimp flat to secure, and finish with a crimp cover over the top.
Frequently asked questions
How do you make a crystal and pearl bracelet?
String beads and pearls onto beading wire, then secure each end to a clasp with crimp tubes. This design uses two wires worked side by side, with bicone beads threaded through both as joining points and pearls sitting on each strand between them, for a fuller, two-row look.
What beads work best for a beaded bracelet?
A mix of pearls and faceted crystal beads gives lovely contrast: the pearls add soft depth while the bicones catch the light. We used Serinity 5810 pearls in iridescent rouge with 5328 peridot bicones for a rich berry palette, but any colours work.
What is a crimp tube and how do I use it?
A crimp tube is a tiny metal bead that locks beading wire in place. You thread the wire through it, loop it around the clasp, pass it back through, then squeeze the crimp flat with pliers to grip the wire. A crimp cover then hides it for a neat finish.
What wire should I use for a beaded bracelet?
A fine, flexible beading wire such as 28 gauge works well here, as it passes through the bead holes easily and sits comfortably on the wrist. Cut it a little longer than your wrist to leave room for the crimped loops at each end.
How do I get the right bracelet length?
Measure your wrist and add roughly 2cm for ease, plus a little extra wire at each end for the crimp loops and clasp. Lay the beads out before you crimp the second end so you can check the fit and adjust the count if needed.
Can I change the colours?
Yes. Deep berry reds and greens give this its rich look, but any palette works. We used our own Austrian-made Serinity pearls and beads here; you can also use premium Swarovski, Czech-made Preciosa or budget Estella in your chosen shades.
Make it your own
Swap the berry palette for any colours, mix in different bead shapes, or match it to an outfit. To build a set, see our bead earrings and beaded necklace projects, or explore the full Craft Studio.


