
A plaited, multi-strand collar is a real showstopper, and it is more achievable than it looks. This guide shows you how to make a woven beaded necklace using Preciosa bicone beads, threading four two-colour ombre strands and plaiting them into a bold rainbow blend that sits close to the neck like a collar.
There is no needle and no complicated stitch, just beads strung on illusion cord, folded and plaited, with the ends neatly hidden inside crimp covers. The quantities here make a collar-length necklace, but you can add beads to each strand for a longer drop. Here is everything you need, then the full method.
Project at a glance
- Difficulty: Intermediate, threading and a four-strand plait
- Time: A couple of hours
- Crystals used: Preciosa bicone beads 4mm in eight colours, two blended per strand
- Technique: Strung ombre strands, folded and plaited, finished with crimp covers
What you'll need
Quantities make the collar-length necklace shown, so add more beads per strand for a longer piece. Add the beads, findings and cord to your cart from the cards below. The pliers, mat and cutter are reusable across every project, so browse the full range of tools and accessories to build your kit.
- Preciosa Bicone Beads 4mm, Light SiamRed, strand one100
- Preciosa Bicone Beads 4mm, HyacinthOrange, strand one100
- Preciosa Bicone Beads 4mm, SunYellow, strand two100
- Preciosa Bicone Beads 4mm, CitrineGold, strand two100
- Preciosa Bicone Beads 4mm, Caribbean SeaTurquoise, strand three100
- Preciosa Bicone Beads 4mm, Aqua BohemicaLight blue, strand three100
- Preciosa Bicone Beads 4mm, IndicoliteBlue, strand four100
- Preciosa Bicone Beads 4mm, Capri BlueDark blue, strand four100
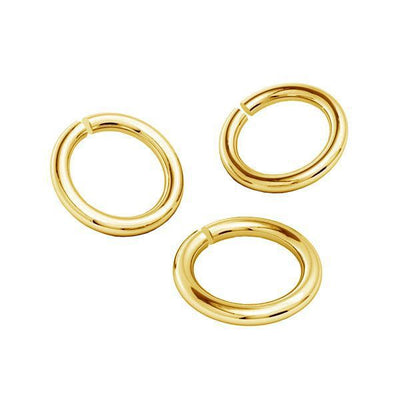
- Gold Plated Round Jump Ring 6mmJoining the loops1
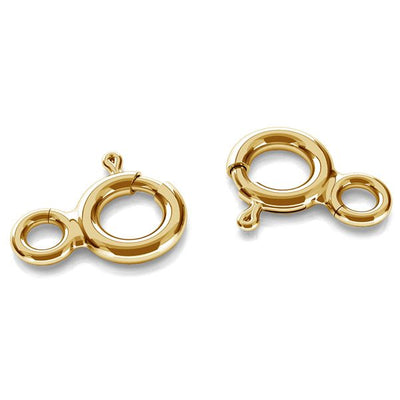
- Gold Plated Bolt Ring Clasp 6mmThe fastening1
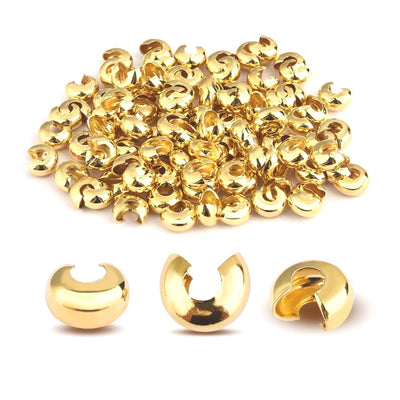
- Gold Plated Crimp Covers 4mmHiding the end knots2
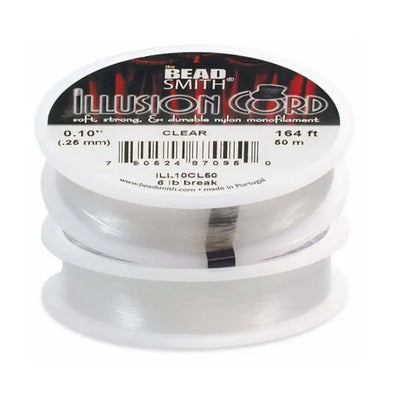
- Monofilament Illusion Cord, ClearStringing the beads1
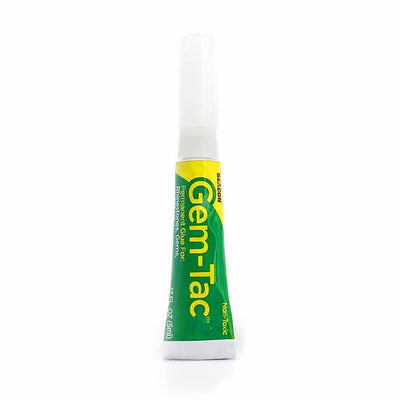
- Gem Tac GlueSealing the knots1
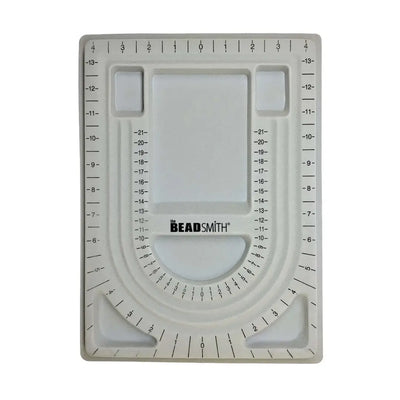
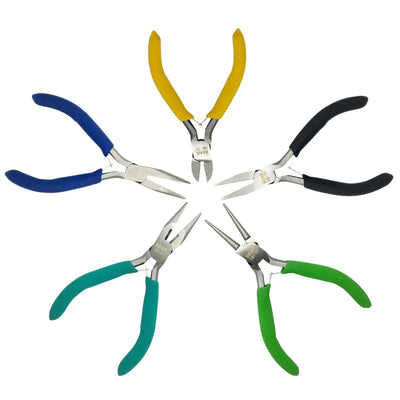
- Bead Mat, Thread Cutter, Round Nose Pliers, Chain Nose PliersReusable tools1 each
Shop this project
Everything you need for this build. Quantities are a guide, so adjust to your design.


£2.31 Excl. VAT

£1.76 Excl. VAT
£15.33 Excl. VAT
Not sure how many crystals you need? Use our Crystal Calculator to estimate by surface area.
How to make a woven beaded necklace
Step 1: Group the beads into colour pairs
The necklace is four long strands, each a two-colour ombre, folded in half and plaited together. Group your beads into the four pairs first: Light Siam with Hyacinth, Sun with Citrine, Caribbean Sea with Aqua Bohemica, and Indicolite with Capri Blue.
Step 2: Thread your first ombre strand
Working straight from the spool of illusion cord, thread 200 beads (100 of each colour) so one colour fades into the other. A reliable ombre pattern: 10 of colour A; then 3A and 1B five times; 2A and 1B ten times; 1A and 1B forty times; 2B and 1A ten times; 3B and 1A five times; then 10 of colour B.

Step 3: Cut the cord
Once all 200 beads are strung, cut the cord leaving about 10cm of tail at each end, and set the strand safely aside.
Step 4: Repeat for the other strands
Repeat Steps 2 and 3 until you have all four strands, each blending its own pair of colours from one shade into the next.
Step 5: Fold and tie
Fold each strand in half and tie all eight tails together in one knot. Leave the beads a little slack rather than tight, as you will need some give at the looped end later when you plait.

Step 6: Seal the knot
Make sure the knot is tight, then seal it with a small dot of Gem Tac glue. Let it dry fully before moving on.
Step 7: Trim and attach the clasp
Separate one cord tail and trim the other seven. Pass the remaining tail through the loop of the bolt ring clasp, tie it off next to the main knot, and strengthen this knot with another dab of Gem Tac.
Step 8: Cover the first knot
Once dry, use the chain nose pliers to press a crimp cover closed around the knots. This hides them so the end looks like a single gold bead, finishing one side of the necklace.
Step 9: Plait the strands
Lay the four folded loops out neatly and treat them as four sections, red, yellow, green and blue. Plait the sections together, keeping the work flat and the tension even all the way along.
Step 10: Join the looped end
At the end of the plait you will have a little exposed cord on each section from the slack you left. Thread all the loops onto the jump ring, then use both pairs of pliers to twist it open, wrap it around the strands and twist it closed.

Step 11: Cover the second knot
Hold the strands together where they meet the jump ring and press the second crimp cover around them, so both ends match. Your woven beaded necklace is complete.
Frequently asked questions
How do you make a woven beaded necklace?
Thread four long strands of beads on illusion cord, each blending two colours into an ombre, then fold them in half and knot the tails together. Seal the knot, add a clasp, plait the four folded sections evenly, and join the looped end with a jump ring, hiding both knots in crimp covers.
How do you create an ombre effect with beads?
Shift the ratio of two colours gradually along the strand. Start with a block of colour A, then mix in more of colour B in stages, equal amounts through the middle, then increasing B until you finish with a block of colour B. The slow change is what makes one shade melt into the next.
What beads are best for a woven necklace?
Faceted bicone beads work beautifully, as their cut catches the light along the whole strand. These are genuine Czech-made Preciosa bicones in 4mm, which are small enough to plait smoothly yet sparkly enough to make a statement, and they come in a huge colour range for any palette.
How do you finish a beaded necklace without a needle?
Illusion cord is stiff enough to thread by hand, so no needle is needed. Knot the strand ends together, seal the knot with a dab of glue, tie on the clasp, then press a crimp cover over each knot with pliers to hide it and give a neat, professional finish.
How many beads do I need for a collar necklace?
This collar uses around 800 bicone beads, 100 of each of eight colours, across four strands of 200. For a longer necklace that sits lower, simply add more beads to each strand in the same ombre ratio, keeping all four strands the same length so they plait evenly.
Can I change the colours?
Yes. The rainbow blend suits Pride, but the same four-strand plait works in any palette: pastels, jewel tones, or a single-colour fade for a subtle look. Genuine Czech-made Preciosa bicones come in dozens of shades, so you can plan a gradient to match any outfit or occasion.
Make it your own
Once you can plait strands, you can scale the idea: more strands for a fuller collar, fewer for a delicate version, or metallic beads for evening. For more Preciosa bead makes, see the beaded bow choker and a matching beaded bracelet, or explore the full Craft Studio.


