
This beaded clover bracelet is a festive, meaningful St Patrick's Day make, and an easy one to personalise. This step-by-step guide shows you how to bead-weave a row of four-leaf clovers using Preciosa seed beads and peridot bicone beads, no glue required. Keep it simple and elegant, or add detail for a truly personal piece.
It is a satisfying beadweave that rewards a little patience. Here is everything you need, then the full method.
Project at a glance
- Difficulty: Intermediate (beadweaving, working the thread back through beads)
- Time: A relaxed afternoon
- Beads used: Preciosa peridot and peridot AB bicones with alabaster white seed beads
- Technique: Needle-and-thread beadweaving with a trigger clasp finish
Watch the tutorial
See this project come together. Watch the full make below, then scroll down for the kit list and step-by-step instructions.
What you'll need
Quantities make one bracelet. Add the beads, thread and findings to your cart from the cards below. The needle and trays are reusable across every project, so browse the full range of tools and accessories to build your kit.
- Preciosa Bicone Beads 4mm, PeridotClover points1
- Preciosa Bicone Beads 4mm, Peridot ABClover points1
- Preciosa Seed Beads Rocaille, Alabaster WhiteShaping the leaves1
- Fireline Beading Thread, ClearStringing1
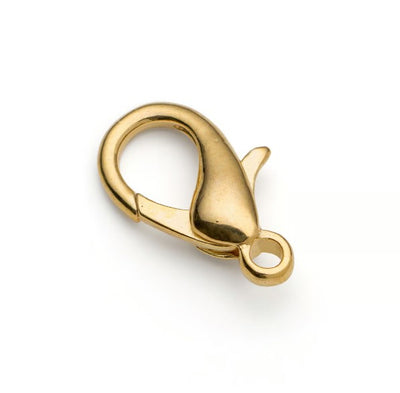
- Gold Plated Trigger ClaspFastening1
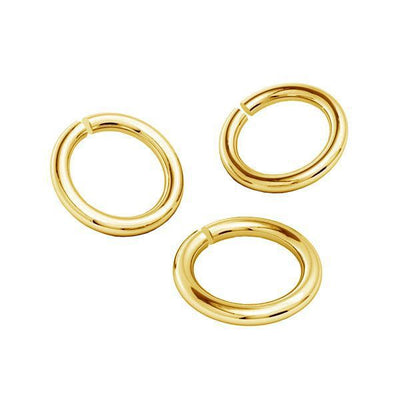
- Gold Plated Open Jump Rings 4mmFastening1
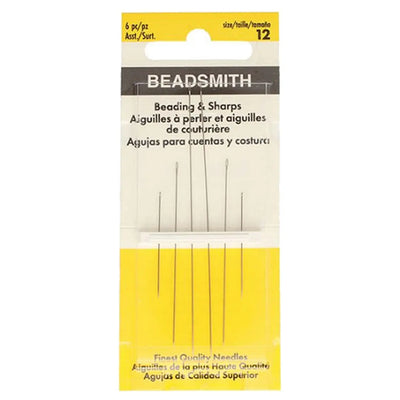
- Beading NeedlesWeaving1
- Magic Sorting TrayOrganising beads3
Shop this project
Everything you need for this build. Quantities are a guide, so adjust to your design.


£7.91 Excl. VAT
£4.99 Excl. VAT

£5.12 Excl. VAT
Not sure how many crystals you need? Use our Crystal Calculator to estimate by surface area.
How to make a beaded clover bracelet
Step 1: Gather your supplies
Tip your beads into the sorting trays so each is easy to reach. Measure and cut roughly 200cm of thread for this project. If you run out partway through, just tie a new length onto the end of the old one and keep going.
Step 2: Make the centre ring
Thread your needle, then string these eight beads in order: Peridot, seed bead, Peridot AB, seed bead, Peridot, seed bead, Peridot AB, seed bead. Tie the ends together to pull the beads into a loop, leaving one end short as a tail and using the longer end to build the rest of the bracelet.
Step 3: Build the first clover
Pick up 3 seed beads and pass the needle through the next bicone to the right of where your thread exits. Pick up 3 more seed beads and pass through the next bicone to the right. Repeat twice more, so you have a group of 3 seed beads between each bicone all the way around.
Next, pick up these beads in order: seed bead, Peridot, seed bead, Peridot AB, seed bead. Pass your needle through the next group of seed beads to the right, going through the top seed bead. Repeat this three more times.
Now thread 4 more seed beads onto the needle and pass through the next seed bead to the right, then thread 4 more seed beads and pass through the next group of three seed beads on the right. Repeat these two moves until you have worked all the way around the clover.
To finish the first clover, thread through the next two seed beads to the right, then pick up 7 seed beads and pass through the opposite group of three seed beads on the left (rather than the right). This makes a loop that starts your next clover.
Step 4: Add the next clover
Thread your needle through the next 8 seed beads into the loop you just made, so your thread exits the middle of that loop. Add 3 seed beads, then pass back through the other side of the seed bead your thread is exiting. Now string, in order: seed bead, Peridot, seed bead, Peridot AB, seed bead, Peridot, seed bead, Peridot AB, seed bead, and pass back through the seed bead your thread is exiting. Repeat from Step 3 to keep adding clovers until the bracelet reaches your desired length.
Step 5: Finishing touches
For the last clover, work Step 3 but stop before Step 4. Make the finishing loop, then attach a trigger clasp to one end of the bracelet and a jump ring to the other so it fastens securely.
Frequently asked questions
How do you make a beaded clover bracelet?
You bead-weave it. Start by stringing a small ring of bicone and seed beads, then add groups of seed beads around the ring to build up the four-leaf clover shape, and link each finished clover to the next until the bracelet is the right length. A needle and a fine thread do all the work, no glue needed.
What beads do I need for a clover bracelet?
Two bead types: small bicone beads for the structure and points, and rocaille seed beads to shape the leaves. We used Preciosa peridot and peridot AB bicones for the green, with alabaster white seed beads, plus Fireline thread and a beading needle.
Is a beaded clover bracelet hard to make?
It is an intermediate beadweave, more involved than simple stringing, as you work the thread back through beads to build each clover. Take the first clover slowly, keep your tension even, and the repeats become much easier once the pattern clicks.
What thread should I use for beadweaving?
A strong braided thread such as Fireline, which resists fraying and holds tension so the clovers keep their shape. Pair it with a fine beading needle (size 12 works well). Cut a long length, around 200cm, and simply tie on more if you run out mid-bracelet.
Can I change the colours?
Yes. Green peridot reads as a classic St Patrick's Day clover, but any two-tone or single-colour mix works. We used Czech-made Preciosa beads here, and you can also use premium Swarovski, our own Austrian-made Serinity or budget Estella in your chosen shades.
How long should I cut the thread?
Around 200cm for a full bracelet. That sounds a lot, but beadweaving passes the thread through beads many times, so it goes quickly. If you do run short, tie a new length onto the end of the old one and carry on.
Make it your own
Swap the greens for any lucky colour combination, add a gold accent bead, or extend the design into a choker or anklet. For more seed bead makes, see our seed bead flower earrings and crocus bracelet projects, or explore the full Craft Studio.


