
Step into the spirit of Halloween with a craft that is equal parts spooky and spectacular. This tutorial shows you how to make a dazzling beaded spider from radiant Preciosa crystal beads and a little wirework. Perch it on a web, dangle it from a candle holder, or wear it as a statement brooch; this beaded spider spins Halloween magic wherever it lands.
It is a fun, hands-on project for makers who love detail and texture. Here is everything you need, then the full method.
Project at a glance
- Difficulty: Intermediate (wirework and shaping)
- Time: About an hour
- Beads used: Preciosa jet round beads, black diamond and jet AB bicones, and a hematite seed bead
- Technique: Wired body and eight beaded legs
Watch the tutorial
See this project come together. Watch the full make below, then scroll down for the kit list and step-by-step instructions.
What you'll need
Quantities make one spider. Add the beads, wire and findings to your cart from the cards below. The pliers and trays are reusable across every project, so browse the full range of tools and accessories to build your kit.
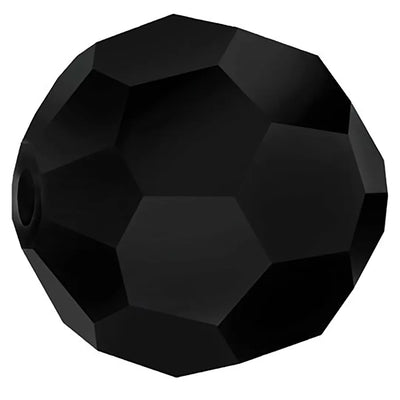
- Preciosa Round Beads, Jet 6mmBody20
- Preciosa Round Beads, Jet 4mmHead25
- Preciosa Bicone Beads, Black Diamond Glitter 3mmLegs100
- Preciosa Bicone Beads, Jet AB 3mmLegs100
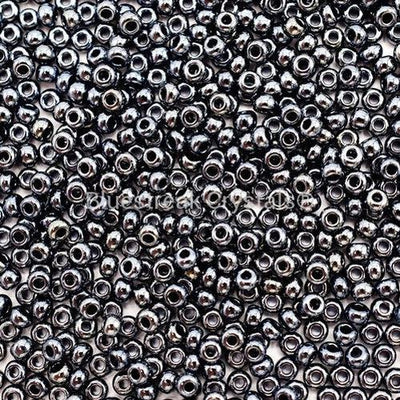
- Preciosa Seed Beads, Rocaille HematiteLeg accents1
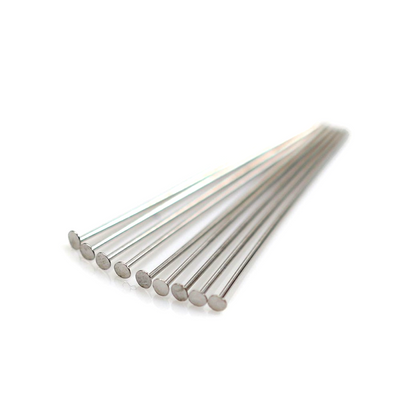
- Silver Plated Flat End HeadpinsBody core1
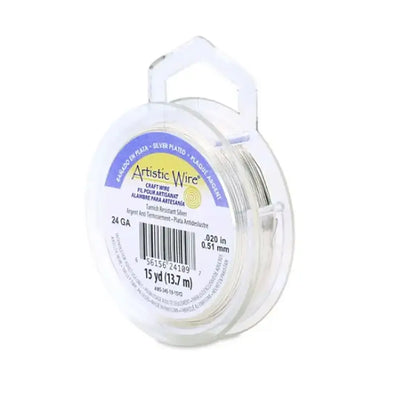
- Artistic Wire 26 Gauge, SilverLegs1
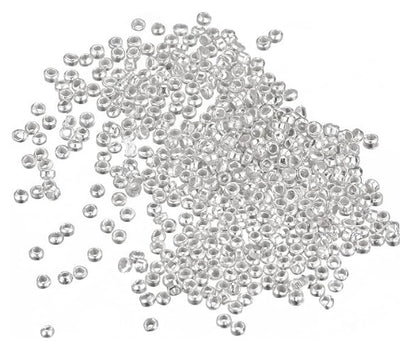
- Silver Plated Crimp BeadsSecuring leg ends1
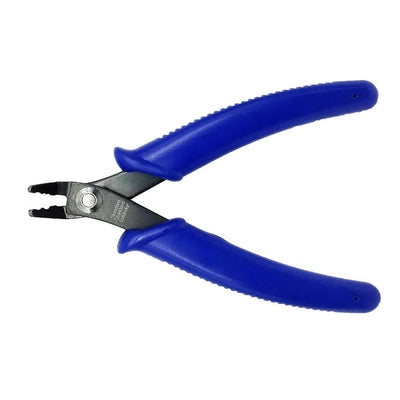
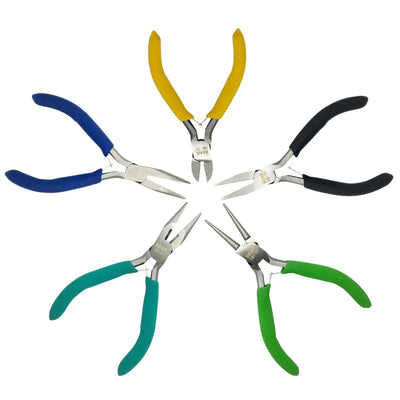
- Crimping PliersClosing crimps1
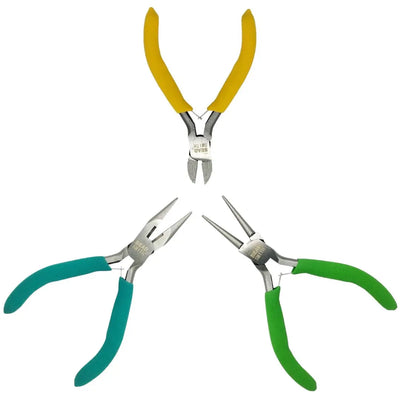
- Set of Three Jewellery PliersCutting, looping, bending1
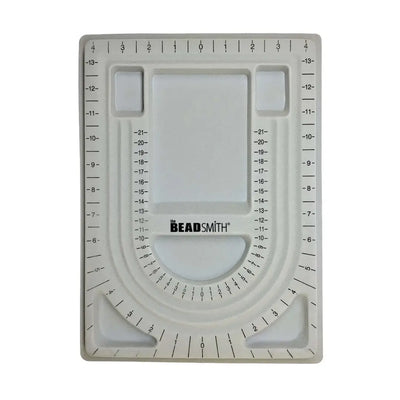
- Magic Sorting TrayOrganising beads3
Shop this project
Everything you need for this build. Quantities are a guide, so adjust to your design.


£5.12 Excl. VAT
£9.20 Excl. VAT
£15.33 Excl. VAT
Not sure how many crystals you need? Use our Crystal Calculator to estimate by surface area.
How to make a beaded spider
Step 1: Gather your supplies
Tip your beads into the sorting trays so they are easy to reach, and cut four lengths of wire, each about 7cm long, for the legs.
Step 2: Create the body
Take a flat headpin and thread on your largest round bead first, then a smaller round bead; these form the body and the head. In the gap between the head and the body, wrap each of your four wires around the headpin once or twice to secure them. Then trim and bend the wire above the head into a loop, using your side cutters and round nose pliers.
Step 3: Form the legs
With your chain nose pliers, twist the wires on each side of the body a few times to lock them in place. Separate the eight legs and bend them roughly into shape.
Step 4: Bead the legs
Add beads along each leg, as many or few as you like, leaving a small gap at the end of the wire. To stop them sliding off, fix a crimp bead to the end of each leg with your crimping pliers.
Step 5: Finishing touches
Once every leg is beaded and secured, bend them into a knee shape so the spider stands up on its own, ready to perch wherever you like.
Frequently asked questions
How do you make a beaded spider?
Build the body and head from two round beads on a headpin, then wrap lengths of wire across the headpin between them to form the legs. Twist the legs to secure, bead each one, crimp the ends to hold the beads on, and bend the legs into shape so the spider stands.
What beads do you need for a beaded spider?
Dark, glittering beads suit a spider best: a larger round bead for the body, a smaller one for the head, and a mix of small bicones and seed beads for the legs. We used Preciosa jet round beads with black diamond and jet AB bicones and a hematite seed bead.
How many legs does the spider have and how much wire?
Eight, like a real spider. Cut four lengths of wire, each about 7cm, and wrap each across the body so both ends become legs. Four folded wires give you the eight legs, which you then bead and bend individually.
How do you make the spider stand up?
Once each leg is beaded and crimped, bend them into a gentle knee shape so the tips angle down and touch the surface. Adjusting the bends lets you balance the spider so it stands, perches on a web, or grips an edge.
Can I turn it into a brooch or hanging decoration?
Yes. The loop at the top of the body is ideal for hanging it from a thread or a candle holder, and you can glue or wire a brooch pin to the underside to wear it. The same beaded spider works as a decoration or a statement brooch.
Can I change the colours?
Yes. Glittering black makes a classic spooky spider, but jewel tones or metallics work beautifully too. We used Czech-made Preciosa beads here; you can also use premium Swarovski, our own Austrian-made Serinity, or budget Estella in your chosen shades.
Make it your own
Try jewel tones or metallics, add more beads for chunkier legs, or fix on a brooch pin to wear it. To build a Halloween set, see our skull bracelet and gothic skull earrings projects, or explore the full Craft Studio.


