

Want the standout piece on the tabletop? This guide shows you how to bedazzle a Warhammer figure with Preciosa flatback crystals, working crystals across the armour, shoulder emblems and chest detail of a display figure for a one-of-a-kind finish.
It is an intermediate make, trickier than a flat surface because of the figure's awkward curves and tight detail, so a range of sizes is key. Genuine Czech made Preciosa crystals, cut in their brilliant MAXIMA style, come in sizes down to SS2, which is what lets you pick out the smallest emblems and edges. Here is everything you need, then the full method.
Project at a glance
- Difficulty: Intermediate
- Time: 3 hours, plus drying time
- Crystals used: Preciosa MAXIMA flatbacks in Montana, Crystal Aurum and White Opal, SS2 to SS10
- Best crystal type: Non-hotfix flatbacks, glue-set to the figure
Watch the tutorial
See this project come together. Watch the full make below, then scroll down for the kit list and step-by-step instructions.
What you'll need
Quantities suit a figure like ours, so scale them to your model and how much you cover. A retail pack of these sizes holds 100 crystals, and the counts below are the approximate number of stones each shade needs, around 1,400 in total. Add the crystals, glue and tools to your cart from the cards below. The picker and trays are reusable across every project, so browse the full range of tools and accessories to build your kit.
- Your figure, clean and dryThe base, we used a Warhammer display figure1
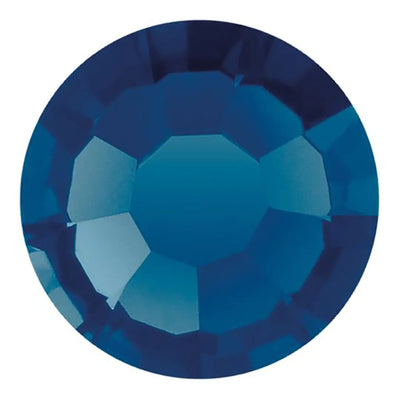
- Preciosa Flatbacks SS5, Montana (MAXIMA)Armour, smaller gaps200 (2 retail packs)
- Preciosa Flatbacks SS7, Montana (MAXIMA)Hands and finer detail300 (3 retail packs)
- Preciosa Flatbacks SS9, Montana (MAXIMA)Armour200 (2 retail packs)
- Preciosa Flatbacks SS10, Montana (MAXIMA)Armour, largest areas300 (3 retail packs)
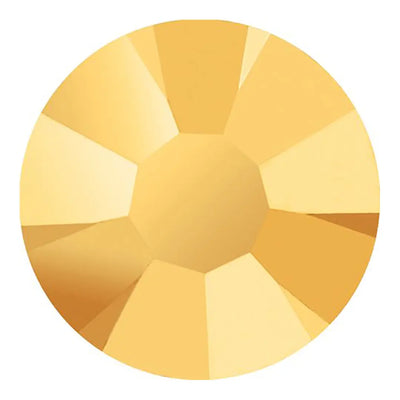
- Preciosa Flatbacks SS2, Crystal Aurum (MAXIMA)Chest wings outline, finest100 (1 retail pack)
- Preciosa Flatbacks SS8, Crystal Aurum (MAXIMA)Shoulder edges100 (1 retail pack)
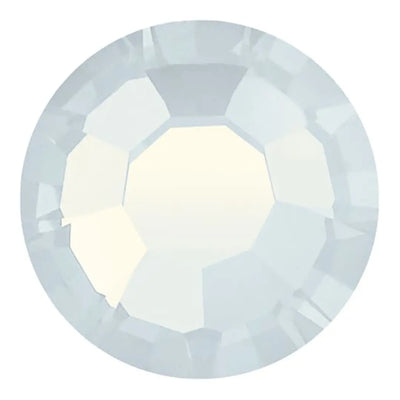
- Preciosa Flatbacks SS5, White Opal (MAXIMA)Shoulder emblems100 (1 retail pack)
- Preciosa Flatbacks SS7, White Opal (MAXIMA)Shoulder emblems100 (1 retail pack)
- E6000 Plus Glue KitAdhesive with syringe and tips1
- Wax Crystal Picker PenPlacing crystals1
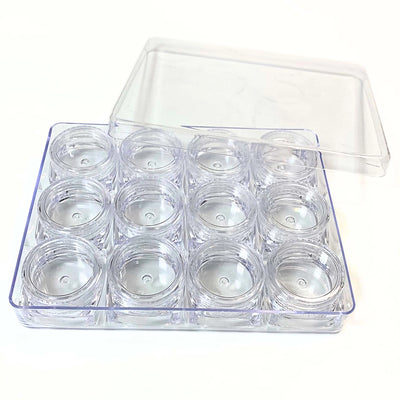
- Magic Sorting TrayOrganising colours and sizes4
Shop this project
Everything you need for this build. Quantities are a guide, so adjust to your design.

£1.95 ex VAT

£5.12 ex VAT
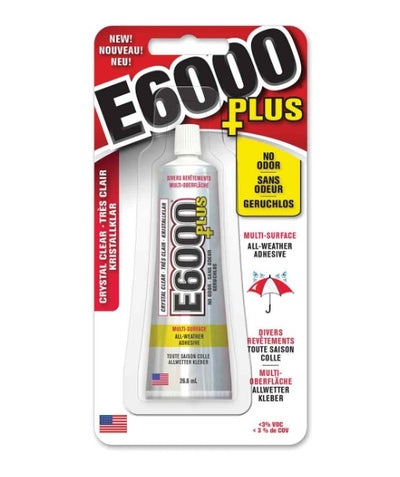
£7.80 ex VAT

£9.53 ex VAT
Not sure how many crystals you need? Use our Crystal Calculator to estimate by surface area.
How to bedazzle a Warhammer figure
Step 1: Sort your crystals and prepare the glue
Place your crystals into the magic sorting trays and load your syringe with E6000 glue. Keep a range of sizes to hand for this one, as the awkward shape and detail of the figure mean you will switch between sizes often.
Step 2: Crystal the shin pieces
Starting with the shin pieces, apply a layer of glue and let it get tacky. Fill the largest areas with Montana SS10, then switch to smaller sizes to fill the gaps around them.

Step 3: Do the thighs, wrists and hands
Work the upper thighs and wrist pieces the same way. The hands need much smaller stones, so drop down to Montana SS7 to follow the finer detail.
Step 4: Crystal the shoulders
The shoulders are trickier. Use Montana SS10 for the largest areas, then White Opal in SS7 and SS5 to pick out the emblem on each shoulder. Finish with Aurum SS8 around the edge of each shoulder.

Step 5: Detail the chest
For the centre of the chest, outline the wings over the skull with Aurum SS2, then fill around them with Montana.
Step 6: Finish the head
Finally, run Montana SS10 along the strip on the centre of the figure's head.
Leave your work to dry fully before handling or displaying it. Congratulations, you will have the most unique piece at any Warhammer campaign.
Frequently asked questions
How do you bedazzle a figure or model?
Work one section at a time around the figure's curves. Apply a little glue, let it turn tacky, then fill the largest area with your biggest stones and drop to smaller sizes for the gaps and fine detail. Keep a full range of sizes to hand, as the shape changes constantly.
How many crystals do you need to cover a figure?
It depends on the size of your figure and how much you cover. This design used around 1,400 flatbacks across several sizes and three shades. Use our Crystal Calculator to estimate by area before you buy, and keep a few spare of the smallest sizes for tight gaps.
What size crystals do you need for fine detail?
The smallest you can place. We used SS2 to outline the chest emblem, as anything larger would lose the shape. Keep a range from SS2 up to SS10 so you can follow broad armour and tiny emblems alike, dropping a size wherever the detail tightens.
What glue works best on a plastic or resin figure?
A strong, flexible adhesive such as E6000. It bonds to the plastic, resin and metal these figures are made from and flexes a little with handling. Work in small sections, let the glue turn tacky, and place each stone with a wax picker for control.
How do you crystal awkward, curved shapes?
Break the figure into small sections and follow each shape rather than forcing straight rows. Fill the broad areas first with larger stones, then work smaller sizes into the curves and edges. Adjusting stones while the glue is still wet keeps everything sitting flush.
Can I change the colours?
Yes. We matched Montana, Aurum and White Opal to the figure, but any palette works for your own scheme. We used genuine Czech made Preciosa crystals here; you can also use premium Swarovski, our own Austrian made Serinity or budget Estella.
Make it your own
Match the crystals to your army's colours, pick out a different emblem, or crystal a whole squad to match. For more character and display makes, see our rhinestone mask and Faberge-style egg projects, or explore the full Craft Studio.


