

Looking for a pretty make to light up warm evenings? This guide shows you how to bedazzle a lantern with Serinity hotfix flatback crystals, building a sparkling moon and stars design that catches the glow of the light within.
It is a beginner-friendly project you can finish in about an hour, working the design up from a range of crystal sizes. We chose hotfix Crystal Transmission crystals for a reason: a lantern is lit from within, so you want a clear stone with no mirror foil on the back to let the light through, and we simply glued them on rather than heat-setting, since the lantern is glass rather than fabric. Our own Austrian made Serinity crystals give a bright, clear sparkle that comes alive against the glow. Here is everything you need, then the full method.
Project at a glance
- Difficulty: Beginner
- Time: 45 minutes to 1 hour, plus 12 hours to dry
- Crystals used: Serinity flatbacks in Crystal Transmission, SS3 to SS30
- Best crystal type: Hotfix flatbacks, glue-set to the lantern with E6000
Watch the tutorial
See this project come together. Watch the full make below, then scroll down for the kit list and step-by-step instructions.
What you'll need
Quantities suit a moon and stars design like ours, so scale them to your lantern and layout. A retail pack holds 50 crystals for most sizes and 20 for SS30, and the counts below are the approximate number of stones each size needs, around 320 in total. Add the crystals, glue and tools to your cart from the cards below. The picker and trays are reusable across every project, so browse the full range of tools and accessories to build your kit.
- Lantern (your own), clean and dryYour base1
- Serinity Hotfix Flatbacks SS3, Crystal TransmissionMoon ends and gap fill100 (2 retail packs)
- Serinity Hotfix Flatbacks SS6, Crystal TransmissionMoon and star points50 (1 retail pack)
- Serinity Hotfix Flatbacks SS8, Crystal TransmissionMoon and stars50 (1 retail pack)
- Serinity Hotfix Flatbacks SS12, Crystal TransmissionMoon and star centres50 (1 retail pack)
- Serinity Hotfix Flatbacks SS20, Crystal TransmissionMoon, larger stones50 (1 retail pack)
- Serinity Hotfix Flatbacks SS30, Crystal TransmissionMoon centre, largest stones20 (1 retail pack)
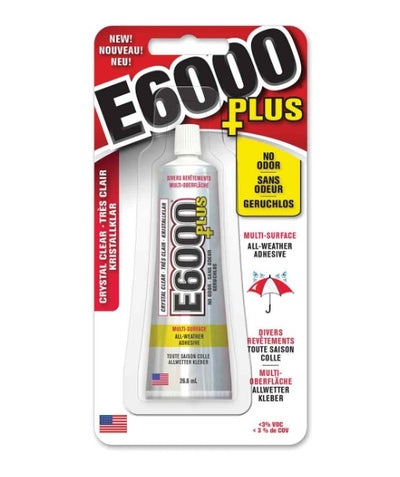
- E6000 Plus Glue KitAdhesive with syringe and tips1
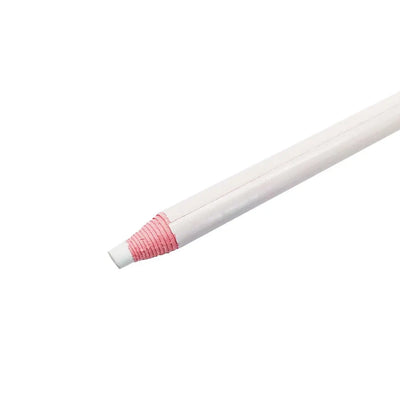
- Wax Crystal Picker PenPlacing crystals1
- Hotfix Positioner PencilSketching and positioning the design1
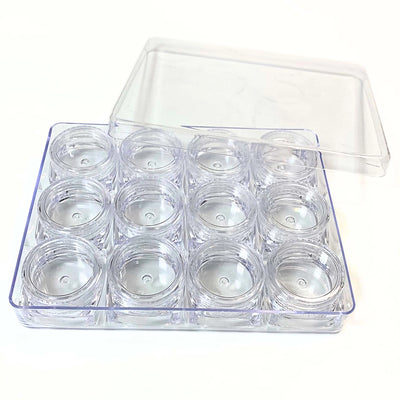
- Magic Sorting TrayOrganising sizes7
Shop this project
Everything you need for this build. Quantities are a guide, so adjust to your design.

From £2.61 ex VAT

£5.12 ex VAT
£1.19 ex VAT

£1.95 ex VAT
£7.80 ex VAT

£9.53 ex VAT
Not sure how many crystals you need? Use our Crystal Calculator to estimate by surface area.
How to bedazzle a lantern
Step 1: Sort your crystals and prepare the glue
To begin, prepare your glue and place your flatbacks into the magic sorting trays, keeping each size separate so they are easy to find as you work.
Step 2: Sketch out your design
Using a hotfix positioner pencil, sketch out your design on the lantern. We drew a large moon in the centre with two stars set within it, then added more stars in varying sizes around the moon.
Step 3: Apply the glue
Once you are happy with the design, apply your glue over the sketch. Use a small amount, especially where the smallest rhinestones will sit, as too much glue bulges out from under the stones and looks messy.
Step 4: Let the glue turn tacky
Allow the glue to become tacky before placing any flatbacks, which stops them slipping around as you work.
Step 5: Build the moon and stars
Start placing your flatbacks. For the moon, begin at one tip with the smallest SS3 stones, gradually working up to the largest SS30 towards the middle, then back down to SS3 at the other tip. For each star, place a larger flatback in the centre and use smaller ones for the points.

Step 6: Fill the gaps
Finally, add SS3 rhinestones here and there to fill out any gaps and tie the design together.

Step 7: Adjust and leave to dry
Adjust any flatbacks that have shifted, then leave your work to dry for twelve hours before using it. Well done, you have the perfect lantern for summer evenings.
Frequently asked questions
How do you bedazzle a lantern?
Sketch your design onto the lantern, then apply a thin layer of glue over it and let it turn tacky. Place your flatback crystals into the glue, working from the smallest sizes up to the largest and back down to shape the design, then fill any gaps and leave to dry fully.
How many crystals do you need for a lantern design?
It depends on the size of your motif and how densely you fill it. Our moon and stars design used around 320 flatbacks across six sizes. Use our Crystal Calculator to estimate by area before you buy, and keep a few spare of the smallest size for gaps.
What glue works best for crystals on a lantern?
A flexible, strong adhesive such as E6000. It bonds to glass, metal and plastic lanterns and dries clear. Use a small amount, especially under tiny stones, so it does not squeeze out and dull the sparkle, and let it turn tacky before placing each crystal.
Why glue hotfix crystals instead of heat-setting them?
Hotfix flatbacks have a heat-glue backing but no mirror foil, so they stay clear and let the lantern's light shine through, which is exactly what a backlit piece needs. Because a lantern is glass or plastic rather than fabric, we bonded them with E6000 rather than an iron.
Is it safe to light a bedazzled lantern?
Use a battery or LED tea light rather than a real flame. Glue and crystals sit better away from heat, and an LED gives a steady glow that makes the crystals sparkle without any fire risk near the adhesive. It also lets you enjoy the lantern indoors and out.
Can I change the design or colours?
Yes. Swap the moon and stars for hearts, flowers or initials, and pick any crystal shade you like. We used our own Austrian made Serinity crystals here; you can also use premium Swarovski, Czech made Preciosa or budget Estella.
Make it your own
Try hearts, flowers or a name instead of the moon, mix in coloured crystals, or run a border around the rim. For more decorative crystal craft, see our crescent moon suncatcher and wire heart decoration projects, or explore the full Craft Studio.


