
Pearls and bows are a timeless combination, and these pretty pearl bow earrings are a lovely jewellery project for spring and summer. This step-by-step guide shows you how to shape Swarovski pearls onto fine wire to make a delicate bow, then turn it into a finished earring. It takes a little wire work, but every step is simple and repeats, so it suits confident beginners.
Follow the design exactly or change the pearl colours and sizes for your own twist. Here is everything you need, then the full method.
Project at a glance
- Difficulty: Beginner to intermediate (some basic wire work)
- Time: About an hour for a pair
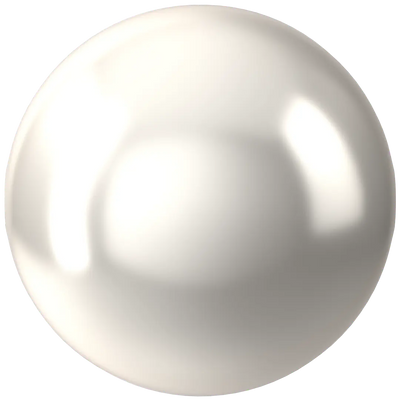
- Pearls used: Swarovski 5810 round pearls, 4mm white
- Technique: Wire-shaped bow, hung from fish hook earwires
Watch the tutorial
See this project come together. Watch the full make below, then scroll down for the kit list and step-by-step instructions.
What you'll need
Quantities make one pair. Add the pearls, wire and findings to your cart from the cards below. The pliers, cutters and tray are reusable across every project, so browse the full range of tools and accessories to build your kit.
- Swarovski 5810 Pearls 4mm, WhiteThe bows (about 30 per earring)60
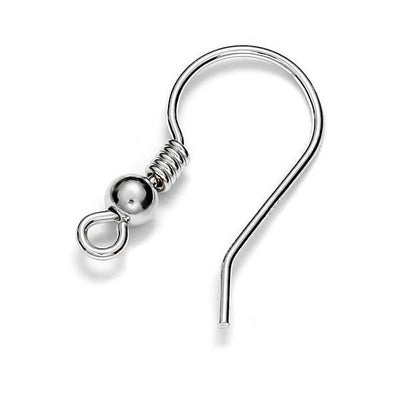
- Silver Plated Fish Hook EarwiresThe earring hooks1 pair
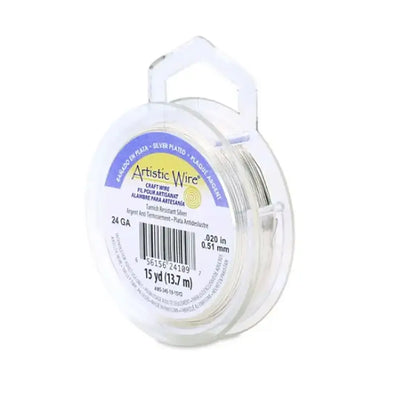
- Artistic Wire 26 Gauge, SilverShaping the bows1
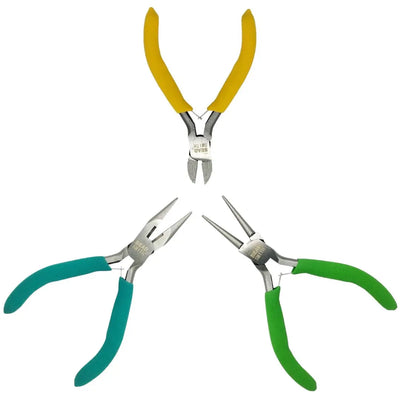
- Round Nose PliersForming the loop1
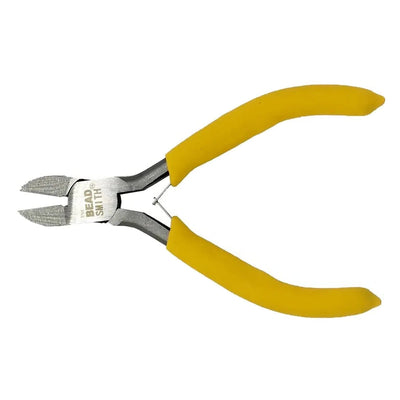
- Side CuttersTrimming the wire1
- Magic Sorting TrayOrganising pearls1
Shop this project
Everything you need for this build. Quantities are a guide, so adjust to your design.

£5.12 Excl. VAT

£3.58 Excl. VAT
£3.58 Excl. VAT
£9.20 Excl. VAT
Not sure how many crystals you need? Use our Crystal Calculator to estimate by surface area.
How to make pearl bow earrings
Step 1: Gather your supplies
Tip your pearls into the sorting tray so they are easy to reach, then cut a piece of wire roughly 30cm long to start your first bow.
Step 2: Form the top of the bow
Thread 9 pearls onto the wire, then bring both ends together and thread a single pearl onto both ends at once to make the centre. Slide the wire so one end sits about 6cm longer than the other. Thread 9 more pearls onto the longer end, then pass that end back through the centre pearl and pull it through. You now have the two top loops of the bow.
Step 3: Complete the bow
For the lower loops, thread 6 pearls onto the left wire, then fold the end up and wrap it once between the last two pearls to secure, and snip off the excess. Repeat with the right wire to finish the bottom of the bow.
Step 4: Turn it into an earring
Cut a 10cm piece of wire and hold it against the back of the bow. Wrap the right end once around the right loop of the bow, then wrap the left end once around the left loop. Hold both ends together and twist them into roughly 4cm of neat twisted wire. Use your round nose pliers to turn a small loop at the top, then open the loop on a fish hook earwire, hook it on, and close it.
Step 5: Make the second earring
Repeat steps 1 to 4 to make the matching earring, and you have your pair.
Swarovski crystals, the largest range worldwide
As an Authorised Swarovski Distribution Partner, Bluestreak Crystals supplies the complete genuine range of Swarovski pearls and crystals, sourced directly from Austria with consistent batch quality and reliable colour matching, so every pearl in your pair sits perfectly true.
Frequently asked questions
How do you make pearl bow earrings?
You thread pearls onto craft wire and shape them into a bow: two looped petals on top, two on the bottom, secured with a centre pearl and a little wire wrapping. You then twist a short stem, form a loop and hang the bow from a fish hook earwire.
What pearls work best for earrings?
Round crystal pearls like the Swarovski 5810 are ideal. They have a smooth, even coating, a consistent size and a drilled hole that takes wire neatly. We used 4mm white here, a classic bridal-friendly size that keeps the bows light to wear.
What wire should I use for pearl earrings?
A fine craft or artistic wire around 26 gauge. It is thin enough to pass through a 4mm pearl more than once, which the bow shape needs, yet firm enough to hold its form. A non-tarnish silver-plated wire keeps the finish bright.
How many pearls do I need for a pair?
About 30 pearls per earring, so roughly 60 for a pair. Each bow uses nine pearls along the top, a shared centre pearl, nine more for the second top loop, then six on each side for the lower loops. Buy a little over to allow for the odd practice run.
Are pearl bow earrings hard to make?
They involve a little wire work, so they are a step up from simple stringing, but each stage is straightforward and repeats the same moves. Take your time on the first bow and the second will come together much faster.
Can I use different colours or pearl sizes?
Yes. Swap the white for any pearl shade, or size up for a bolder bow. We used premium Swarovski pearls, but you can also use our own Austrian-made Serinity, Czech-made Preciosa or budget Estella, depending on your finish and budget.
Make it your own
Try a pop of colour, a larger pearl for a bolder bow, or mix in a crystal bead for sparkle. For more easy earring makes, see our seed bead flower earrings and pearl earrings projects, or explore the full Craft Studio.


