
Elevate your Christmas decor with this crystal angel ornament. This step-by-step guide shows you how to build a luminous beaded angel from Swarovski pearls and Crystal AB globe beads, wired and threaded into a body, wings and a floating skirt. Whether on the tree or in a curated display, it is an eye-catching keepsake that feels both magical and timeless.
It is a rewarding, more advanced project that combines a few simple techniques across several stages. Here is everything you need, then the full method.
Project at a glance
- Difficulty: Intermediate to advanced (wire wrapping, crimping and cord work)
- Time: A couple of hours
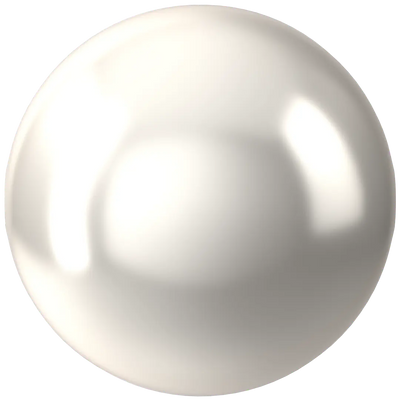
- Beads used: Swarovski 5810 pearls in white and light grey, plus 5028 globe beads in Crystal AB
- Technique: Wired body and wings with an illusion-cord skirt
Watch the tutorial
See this project come together. Watch the full make below, then scroll down for the kit list and step-by-step instructions.
What you'll need
Quantities make one angel. Add the pearls, beads, wire and findings to your cart from the cards below. The pliers and trays are reusable across every project, so browse the full range of tools and accessories to build your kit.
- Swarovski 5810 Pearls, White 8mmHead and assembly25
- Swarovski 5810 Pearls, White 6mmSkirt25
- Swarovski 5810 Pearls, Light Grey 3mmWings and skirt50
- Swarovski 5028 Globe Beads, Crystal AB 6mmSkirt accents60
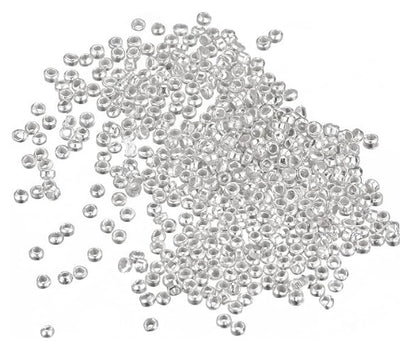
- Silver Plated Crimp Beads 2mmSkirt waist ring250
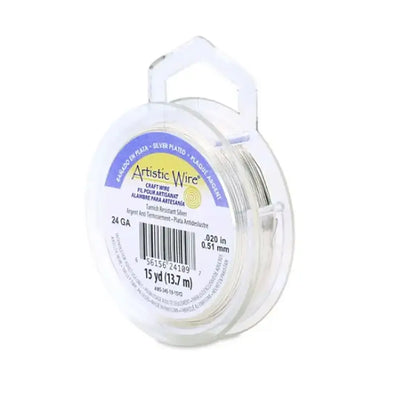
- Artistic Wire 26 Gauge, SilverWings, structure, assembly1
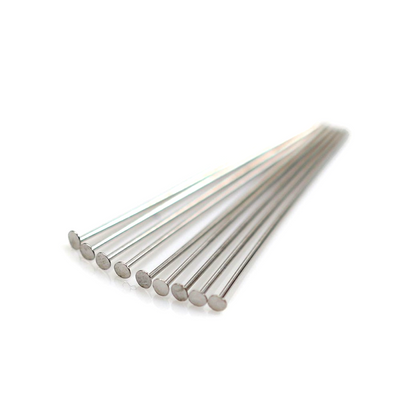
- Silver Plated Flat End HeadpinsBody core100
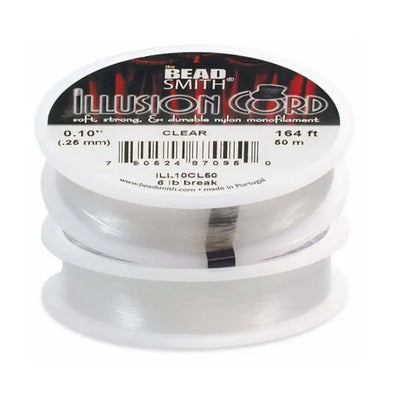
- Illusion Cord, ClearSkirt threading1
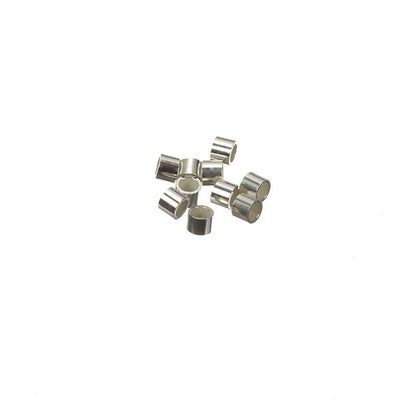
- Crimp Tubes Size #2 (1.2mm)Securing the skirt ring10
- Crimp Tubes Size #1 (1mm)Wings and assembly20
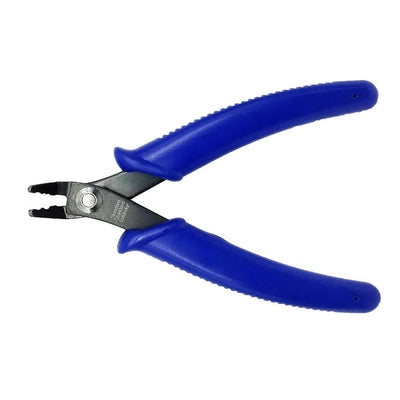
- Crimping PliersClosing crimps1
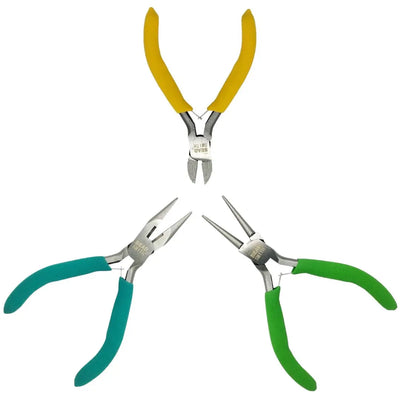
- Set of Three Jewellery PliersLooping and bending1
- Magic Sorting TrayOrganising beads4
You will also want a short length of ribbon to hang the finished angel.
Shop this project
Everything you need for this build. Quantities are a guide, so adjust to your design.


£2.31 Excl. VAT
£9.20 Excl. VAT

£5.12 Excl. VAT
Not sure how many crystals you need? Use our Crystal Calculator to estimate by surface area.
How to make a crystal angel ornament
Step 1: Gather your supplies
Tip your pearls and beads into the sorting trays so they are easy to reach, and have your wire, cord and pliers to hand.
Step 2: Create the body
Thread two 8mm white pearls onto a flat headpin. Cut about 15cm of 26 gauge wire and wrap it around the headpin between the two pearls, leaving an even length of wire on each side, as this is where the wings will go.
Step 3: Create the wings
Thread twenty-one 3mm light grey pearls onto the right side of the wire, and bend just below the last bead so they do not slip off. Leave the first two beads free, then make a loop with the next fifteen pearls and wrap the wire back around itself just after those first two beads. You should have two beads, then fifteen forming the wing, then four pearls left for the arm. Secure the end with a size #1 (1mm) crimp tube and trim the excess. Repeat on the left side to complete the body. Finally, bend the wire at the top, leaving a small gap above the top pearl, trim to the loop size you want, and turn it into a hanging loop with round nose pliers.
Step 4: Create the skirt
Cut about 13cm of clear illusion cord and thread on nine 2mm silver crimp beads, then tie the ends together to form a small ring. Measure roughly an arm's length of cord for the skirt panels (better too much than too little). Thread the cord through one crimp bead on the ring, pulling about 8cm through to tie off later. For each skirt panel, thread: five light grey 3mm pearls, three 5028 globe beads, one white 6mm pearl, three light grey 3mm pearls, one white 6mm pearl, three 5028 globe beads, then five light grey 3mm pearls. Loop the cord through the next crimp bead along, and repeat all the way around the ring. Tie off tightly.
Step 5: Add structure to the skirt
To round out the base, cut about 20cm of 26 gauge wire and thread it through the three light grey 3mm pearls that separate the two white 6mm pearls in one panel. Add three more 3mm light grey pearls, then thread through the matching three pearls on the next panel. Repeat around the whole base. Pass both wire ends through a size #2 (1.2mm) crimp tube so they cross, secure the crimp, and trim.
Step 6: Assemble the angel
Cut about 7mm of 26 gauge wire and wrap it around the headpin between the second body pearl and the bottom of the headpin, trimming the shorter end. Thread the longer end through the loop at the top of the skirt, add a white 8mm pearl, then a size #1 (1mm) crimp bead below the pearl, secure it and trim the excess.
Step 7: Finishing touches
Thread a short length of ribbon through the top loop so your angel is ready to hang on the tree.
Where to buy genuine Swarovski crystals
As an Authorised Swarovski Distribution Partner, Bluestreak Crystals supplies the complete genuine range of Swarovski pearls and beads, sourced directly from Austria with consistent batch quality and reliable colour matching, so every pearl on your angel glows with authentic lustre.
Frequently asked questions
How do you make a beaded angel ornament?
In sections. You build the body and head on a headpin from pearls, wire-wrap a pair of looped wings on each side, make a skirt by threading beads onto fine illusion cord attached to a small crimp-bead ring, add a wire hoop to hold the skirt's shape, then join the skirt to the body and add a hanging loop.
What beads do you need for an angel ornament?
Mostly pearls for the body and wings, with a few faceted crystal beads to lift the skirt. We used Swarovski 5810 pearls in white and light grey across three sizes, plus 5028 globe beads in Crystal AB, for a soft, luminous finish.
What is illusion cord and why use it?
Illusion cord is a fine, clear monofilament thread. Because it is almost invisible, the beads on the angel's skirt appear to float, which keeps the focus on the crystals rather than the thread holding them. It is strong and holds a knot well.
How do you hang a crystal angel ornament?
Turn a small loop at the top of the body with round nose pliers before you finish, then thread a fine ribbon or ornament hook through it. The angel is light, so a delicate loop and ribbon are all you need to hang it on the tree.
Is a crystal angel hard to make?
It is an intermediate to advanced project. None of the techniques are difficult on their own, but it combines wire wrapping, crimping and cord work across several stages. Work through it one section at a time, body, wings, then skirt, and it comes together steadily.
Can I change the colours?
Yes. White and light grey pearls give a classic, soft angel, but gold, champagne or all-clear Aurora Borealis look beautiful too. We used premium Swarovski here, and you can also use our own Austrian-made Serinity, Czech-made Preciosa or budget Estella.
Make it your own
Try gold or champagne pearls, or all-clear Aurora Borealis, for a different mood, and match it with other festive pieces. For more Christmas crystal craft, see our crystal snowflake ornament project, or explore the full Craft Studio for matching angel earrings, baubles and bows.


