
Love elegant, classy jewellery? This guide shows you how to make a beaded bow choker with Preciosa crystal beads and silver-plated findings. Using round and bicone beads on illusion cord, with crimp beads and covers, you can create a trendy, eye-catching choker with a pretty beaded bow that elevates any outfit.
This is a more involved stringing project with some fiddly bow-making, so it suits a confident beginner upwards. Here is everything you need, then the full method.
Project at a glance
- Difficulty: Intermediate (crimping and bow construction)
- Time: 1 to 2 hours
- Beads used: Preciosa round beads 6mm in Chrysolite, and bicone beads 4mm in Chrysolite AB
- Strung on: Clear monofilament illusion cord
What you'll need
Add the beads, cord and findings to your cart from the cards below. The crimps, clasp, jump ring and covers are in our jewellery findings range, and the pliers and cutters are reusable across every project.
- Preciosa Round Beads 6mm, ChrysoliteThe choker body75
- Preciosa Bicone Beads 4mm, Chrysolite ABThe bow70
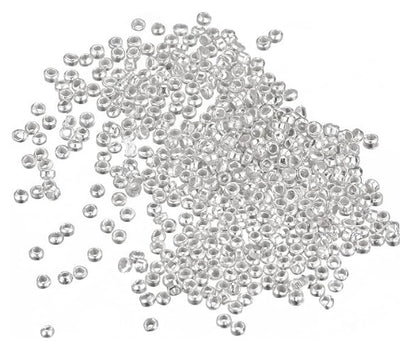
- Silver Plated Crimp BeadsSecuring the ends4
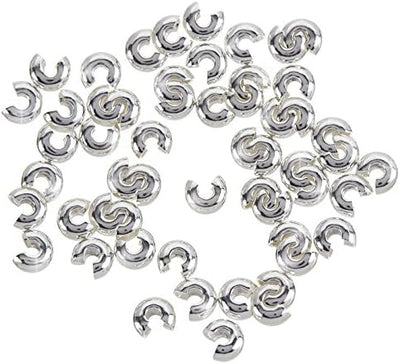
- Sterling Silver Crimp CoversNeat finish1 pack
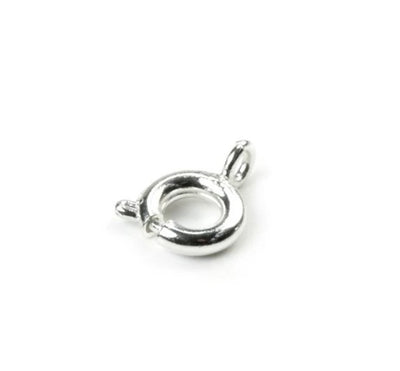
- Sterling Silver Bolt Ring ClaspThe fastening1
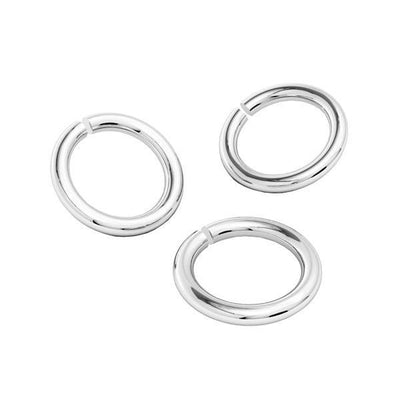
- Sterling Silver Jump RingThe other half of the clasp1
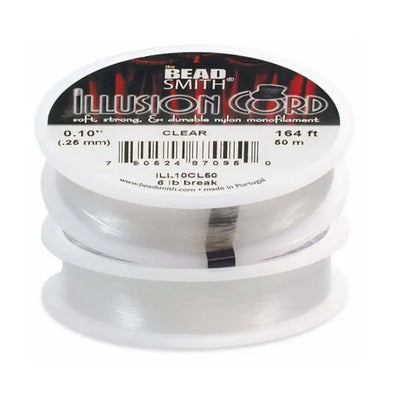
- Monofilament Illusion Cord, ClearStringing1
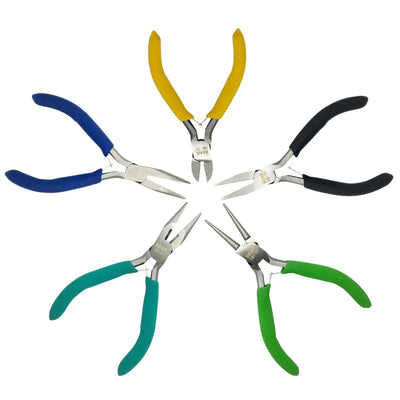
- Side CuttersTrimming cord1
- Crimping PliersClosing crimps and covers1
Shop this project
Everything you need for this build. Quantities are a guide, so adjust to your design.


Not sure how many crystals you need? Use our Crystal Calculator to estimate by surface area.
How to make a beaded bow choker
Step 1: Measure and cut your cord
Lay your beads and findings on a beading mat so they do not roll away. Decide the length you want for the choker and add 15cm, then trim the cord with your side cutters.
Step 2: Attach the clasp
Thread a crimp bead onto the cord about 5cm in, thread on your clasp, then pass the cord back through the crimp bead to form a loop holding the clasp. Pull it tight so the clasp cannot move and the 5cm tail sits alongside the main cord. Crush the crimp bead with the first set of grooves on the crimping pliers, then round it off with the second set.
Step 3: Cover the crimp bead
Place a crimp cover over the crushed crimp bead and gently close it with the rounding grooves of your pliers for a neat finish that will not move.
Step 4: Thread the round beads
Thread your round beads onto both strands of cord, sitting flush against the crimp cover, so they hide the 5cm tail. Keep threading over both cords until the tail is covered, then continue until you reach your desired length.
Step 5: Finish the choker end
Thread a crimp bead against the last round bead, add your jump ring (closed first), then pass the cord back through the crimp bead as before. Pull tight, crush and cover the crimp, then trim the excess to 5cm and thread it back through the round beads to hide it.
Step 6: Begin the bow
Cut a separate 30cm length of cord. Thread on a bicone bead, then a crimp bead, and pass back through the bicone to form a loop, just as you did for the clasp, leaving about 3cm poking back through. Crush and cover the crimp.
Step 7: Build the bow
Thread on 10 bicone beads for the first streamer, over both cords until the excess is covered. Find the middle bead of your round-bead choker and thread the streamer through it. Add 25 bicones for the first loop and thread back through that middle bead, then 25 more for the second loop, threading back through again, so two loops sit either side. Thread 10 bicones for the second streamer, pull everything tight, and finish the end with a crimp bead and cover as before.
Frequently asked questions
How do you make a beaded choker?
Decide your length and add a little extra for finishing, then crimp a clasp onto one end of the cord, thread your beads along it, and finish the other end with a crimp bead and a jump ring. Crimp covers over the crushed beads give a neat, professional finish.
How do you use crimp beads and crimping pliers?
Thread a crimp bead onto the cord, pass the cord back through it to form a small loop holding your clasp or ring, and pull tight. Crush the crimp with the first set of grooves on the pliers, then round it off with the second set so it holds firmly and sits neatly.
What are crimp covers for?
A crimp cover hides the crushed crimp bead and gives a smooth, round, bead-like finish. Place it over the crimp and gently close it with the rounding grooves of your crimping pliers, so the join looks like part of the design rather than a join.
How do you make a beaded bow?
Build it from a separate length of cord: make a short streamer of beads, thread it through a central bead in the choker, loop a run of beads back through that same bead, repeat for the second loop, then add the second streamer. The two loops sit either side of the central bead to form the bow.
What cord is best for a beaded necklace?
Clear monofilament illusion cord is ideal. It is strong, holds crimps well, and is nearly invisible, giving a floating look where the beads appear to sit on the skin. Thread back through the beads to hide the tails for a tidy finish.
Can I change the beads and colours?
Yes. Round beads form the choker body and bicones add sparkle to the bow, but you can vary both. We used Chrysolite. These are Czech-made Preciosa beads; you can also use premium Swarovski, our own Austrian-made Serinity, or budget Estella.
Make it your own
Try a single colour, a longer drop, or a bigger bow with more beads in the loops. For more beaded jewellery, see our crystal bow earrings and beaded clover bracelet projects, or explore the full Craft Studio.


