
To make a beaded bracelet, you crimp one end of a clear illusion cord to a jump ring, thread your beads on in a repeating pattern, size it against your wrist, then crimp the second end and add a clasp. In this tutorial we string Swarovski crystal beads in Metallic Sunshine, bicones and cubes spaced with golden Preciosa seed beads, for a warm autumn colourway with a glint of gold.
As an official Authorised Swarovski Distribution Partner, every crystal we supply comes direct from Swarovski in Austria, available to everyone with no minimum order. Here is everything you need, then the full method.
Project at a glance
- Difficulty: Absolute beginner, two crimps and a jump ring
- Time: Half an hour
- Crystals used: Swarovski bicones and cubes in Metallic Sunshine with Preciosa seed beads in Light Topaz
- Technique: Stringing on illusion cord with crimp bead ends
What you'll need
Quantities make the bracelet shown; the repeating pattern scales to any wrist. Add the beads, cord, findings and tools to your cart from the cards below. The pliers and cutters are reusable across every project, so browse the full range of tools and accessories to build your kit.
- Swarovski Bicone Beads 5328 6mm, Metallic SunshineThe sparkle in each repeat11
- Swarovski Cube Beads 5601 8mm, Metallic SunshineThe feature shape10
- Preciosa Seed Beads 8/0, Light Topaz S/LGolden spacers between crystals22
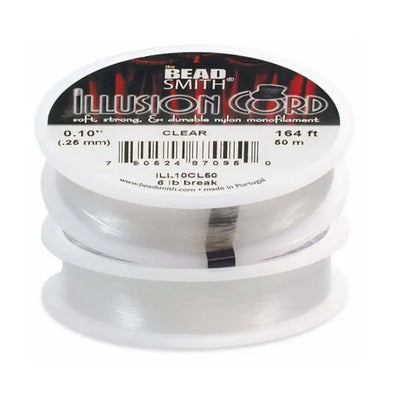
- Monofilament Clear Illusion CordThe invisible thread1
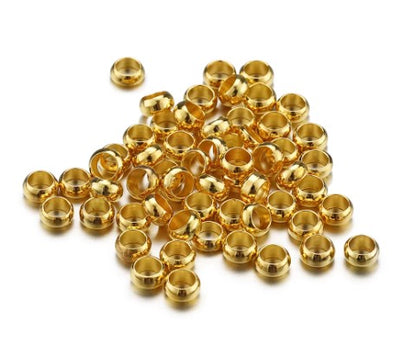
- Gold Plated Crimp Beads 2mmLocking each end2
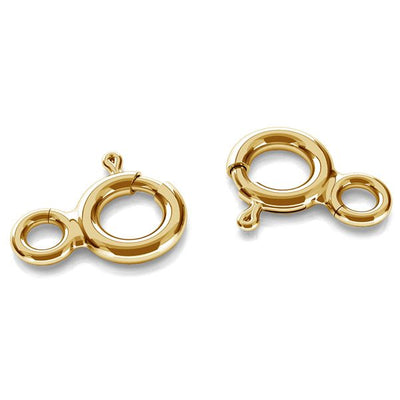
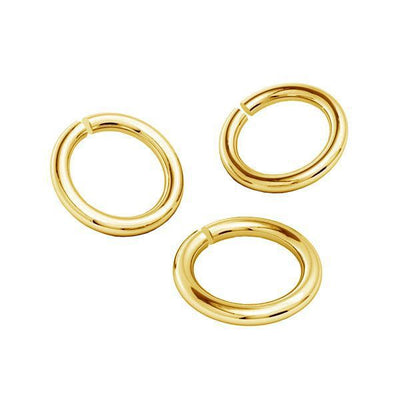
- Gold Plated Jump Rings 4mmThe end loops2
- Gold Plated Bolt Ring Clasp 6mmThe fastening1
- Crimping PliersThe two-stage crush1
- Chain Nose PliersOpening jump rings1
- Round Nose PliersHolding the second jump ring1
- Side Cutters and Thread CuttersTrimming wire and cord1 each
Shop this project
Everything you need for this build. Quantities are a guide, so adjust to your design.


Not sure how many crystals you need? Use our Crystal Calculator to estimate by surface area.
How to make a beaded bracelet
Step 1: Create the first end
Thread the illusion cord through the crimp bead, then through one of the jump rings and back into the crimp bead, capturing the ring in a small loop, as shown:

Step 2: Secure the loop
Keeping a firm grip so both strands stay inside the crimp bead, crush the crimp with crimping pliers, first one way, then the other, locking the cord permanently; any jewellery making or household pliers will also do. Once the cord holds firm when pulled, trim the excess, leaving about 1cm to tuck back through the first few beads.

Step 3: Thread on the beads
Thread the beads onto the cord in this repeating sequence:
- 1 x seed bead
- 1 x bicone bead
- 1 x seed bead
- 1 x cube bead
Repeat the pattern until the bracelet wraps easily around your wrist. Before securing the second end, measure against your own wrist, remembering the clasp still needs to be added: unthread a few beads if it runs large, add more if it runs small.
Step 4: Secure the other end
Repeat Step 1 at the open end, tightening the cord so there is no slack before you crush the crimp bead. Trim the excess as before, leaving about 1cm to thread back through the beads.
Step 5: Attach the clasp
Open a jump ring by gripping it with two pairs of pliers and twisting the ends in opposite directions, never pulling them apart. With the ring open, loop on the bolt ring clasp, then twist the jump ring closed again.

Frequently asked questions
How do you make a beaded bracelet?
Crimp one end of a length of illusion cord to a jump ring, thread on your beads in a repeating pattern, size the bracelet against your wrist, then crimp the second end to another jump ring with the cord pulled snug. Finish by twisting open a jump ring and adding the clasp.
How do you use crimp beads?
Thread the cord through the crimp bead, through the jump ring, then back into the crimp bead so the loop is captured. Gripping both strands inside the crimp, crush it with crimping pliers first one way, then the other, to lock the cord permanently. Any jewellery or household pliers will also do the job.
How long should a beaded bracelet be?
Measure against your own wrist before securing the second end, remembering the clasp still adds a little length. The repeating pattern makes resizing simple: unthread a few beads if it runs large, or add another repeat if it runs small, so the bracelet wraps easily without hanging loose.
What is illusion cord?
A clear monofilament thread, like a fine fishing line, that virtually disappears between beads so they appear to float around the wrist. It is strong, needs no knots because the ends are secured with crimp beads, and trims invisibly: leave about 1cm spare and tuck it back through the beads.
What bead pattern works for a bracelet?
A short repeating sequence is the most reliable: ours runs seed bead, bicone, seed bead, cube, then repeats. Alternating a small spacer bead with larger feature shapes gives the design rhythm, spaces out the statement crystals, and makes the bracelet easy to resize one repeat at a time.
Make it your own
Metallic Sunshine and topaz glow like October light, but the same stringing method suits any palette: icy blues for winter, pastels for spring, or jet and silver for evening wear. For more autumn jewellery makes, see how to make a pumpkin seed bead bracelet, or explore the full Craft Studio.


