


Spooky but wearable, these skull stud earrings are a quick Halloween make that you will reach for long after October. This guide shows you how to make them using genuine Swarovski crystal beads and spike pendants, with a jet skull on a stud and a smoky Crystal Silver Night spike swinging below.
It is a beginner-friendly assembly with no wire wrapping, just headpin loops and jump rings. Crystals made by Swarovski® keep the skull and spike crisply faceted so they catch the light from every angle. As a Swarovski stockist, we supply only genuine crystals. Here is everything you need, then the full method.
Project at a glance
- Difficulty: Beginner, headpin loops and jump rings
- Time: About 20 minutes
- Crystals used: Swarovski Jet skull beads and Crystal Silver Night spike pendants
- Technique: Headpin loops linked with jump rings
Watch the tutorial
See this project come together. Watch the full make below, then scroll down for the kit list and step-by-step instructions.
What you'll need
Quantities make one pair, so scale up for more. Add the beads, pendants and findings to your cart from the cards below. The pliers and trays are reusable across every project, so browse the full range of tools and accessories to build your kit.
Materials
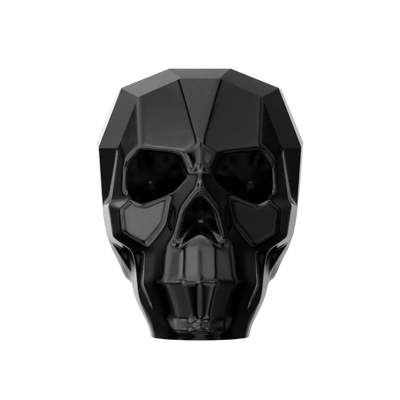
- Swarovski Skull Beads 5750 13mm, JetThe skulls2
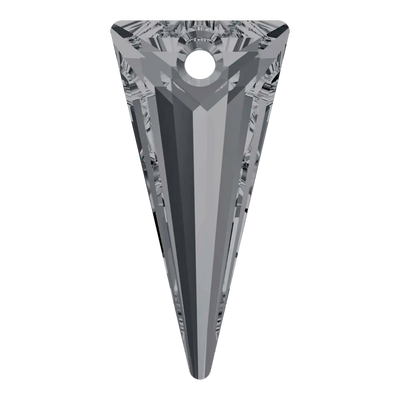
- Swarovski Spike Pendants 6480 18mm, Crystal Silver NightHanging spikes2
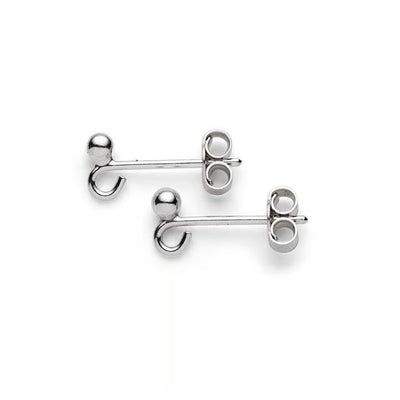
- Sterling Silver Post and Scroll Ear WiresThe studs1 pair
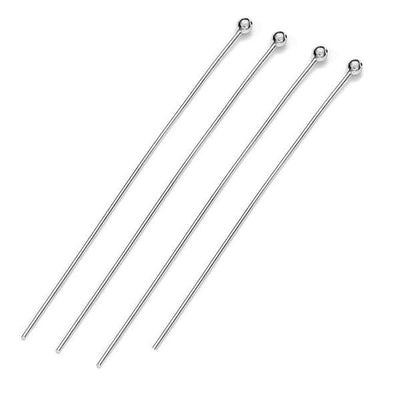
- Sterling Silver Ball End HeadpinsSkull drop core2
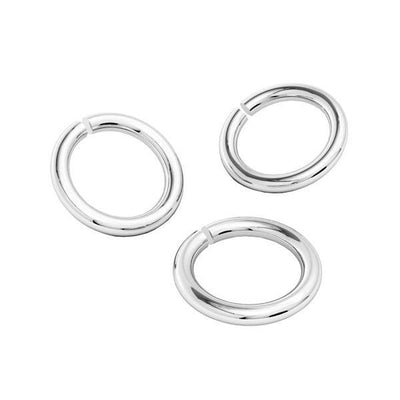
- Silver Plated Oval Jump RingsConnecting chain6
- Sterling Silver Round Jump RingsSpike bail2
Tools
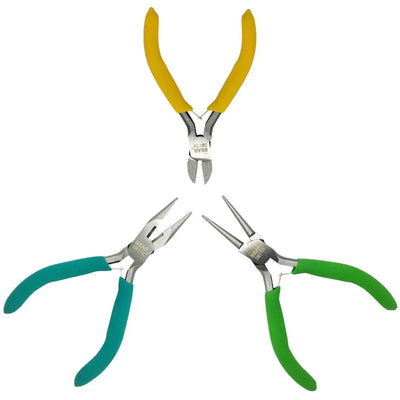
- Set of Three Jewellery PliersLooping and opening rings1
- Magic Sorting TrayOrganising components4
Shop this project
Everything you need for this build. Quantities are a guide, so adjust to your design.

Not sure how many crystals you need? Use our Crystal Calculator to estimate by surface area.
How to make skull stud earrings
Step 1: Sort your components
Put all your components into the sorting trays so they are easy to reach as you work. Keeping the skulls, spikes, headpins and jump rings in separate trays makes the assembly quick and stops anything rolling away.
Step 2: Start the skull drop
Thread a skull bead onto a flat headpin. Bend the top of the wire to one side, snip off the excess with your cutters to leave about 1cm, then roll it into a neat loop with your round nose pliers.

Step 3: Attach the stud
Twist open the loop you just made at the top of the skull, thread on one post and scroll ear post, then twist the loop closed again. The skull now hangs neatly from the stud.
Step 4: Add the spike to its hoop
Open a larger round jump ring, thread on a spike pendant, then close the ring securely. This round hoop acts as the spike's bail so it hangs straight.
Step 5: Chain the jump rings
Chain together three oval jump rings into a short connecting link. This little chain sits between the skull and the spike, giving the earring length and movement.
Step 6: Connect the drop
Open the bottom oval ring and attach your spike, then open the top oval ring and attach it to the base of the skull. Close both rings fully so there are no gaps for them to work loose.

Step 7: Make the matching earring
Repeat the whole process for the second earring, matching the jump ring chain length so the pair hangs evenly. Your spooky skull stud earrings are ready to wear, the perfect DIY for the Halloween season.
Frequently asked questions
How do you make skull stud earrings?
Make skull stud earrings by threading a skull bead onto a headpin and looping it onto a stud post, then hanging a crystal spike below it on a short chain of oval jump rings. Build both earrings the same way, matching the chain length so the pair sits evenly.
What crystals are these skull earrings made from?
These earrings use genuine Swarovski crystal: a 13mm Jet skull bead for the body and an 18mm Crystal Silver Night spike pendant for the drop. The jet black and smoky gunmetal finishes together give a gothic look that suits Halloween and everyday wear alike.
What colour is Crystal Silver Night?
Crystal Silver Night is a dark, smoky gunmetal with a mirror-like metallic sheen, one of the moodiest finishes in the Swarovski palette. Paired with a jet skull on silver findings, it gives these earrings a unified gothic look that still flashes light from every facet.
Can I wear skull earrings beyond Halloween?
Yes. Worked in genuine Swarovski crystal on silver findings, these are a proper pair of gothic earrings, not just a costume piece. The dark jet and gunmetal palette suits everyday wear, and swapping the spike colour alone gives you a completely different look.
What tools do I need to make these earrings?
A set of three jewellery pliers covers everything: round nose pliers to form the headpin loops, chain nose pliers to open and close the jump rings, and side cutters to trim the headpin. A couple of sorting trays keep the small components tidy as you build.
How do you open and close jump rings properly?
Grip each side of the jump ring with two pliers and twist the ends in opposite directions, one towards you and one away, to open it sideways. Close it the same way until the ends meet flush. Never pull a ring straight apart, as that weakens and distorts it.
Make it your own
Swap the spike colour for Crystal AB for an icy finish, or hang the skull drop on a chain as a necklace. For a drop-style version, see our skull drop earrings, try a beaded spider, or explore the full Craft Studio.


