

To make candy cane earrings, you thread red and white beads alternately onto a flat end headpin, bend the pin into a candy cane curve with your fingers, glue the final bead at the tip and hook the cane onto an ear wire. In this tutorial we use 4mm Swarovski crystal beads in Light Siam and White Opal Shimmer on gold findings, for a festive pair that takes under half an hour.
As an official Authorised Swarovski Distribution Partner, every bead we supply comes direct from Swarovski in Austria, available to everyone with no minimum order. Here is everything you need, then the full method.
Project at a glance
- Difficulty: Beginner, no wirework loops to form
- Time: Under half an hour for the pair, plus glue drying
- Crystals used: Swarovski 5000 round beads 4mm in Light Siam and White Opal Shimmer
- Technique: Bead stringing on headpins with a hand-bent cane
What you'll need
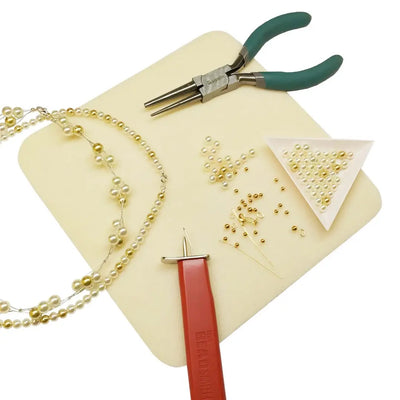
Quantities make one pair, so scale up for more. Add the beads, findings, glue and tools to your cart from the cards below. The pliers, cutters, mat and tray are reusable across every project, so browse the full range of tools and accessories to build your kit.
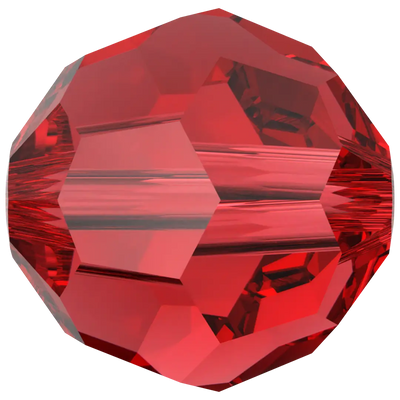
- Swarovski Round Beads 5000 4mm, Light SiamThe red stripes, 5 per earring10
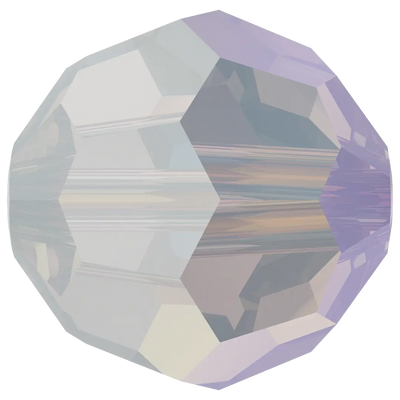
- Swarovski Round Beads 5000 4mm, White Opal ShimmerThe white stripes, 4 per earring8
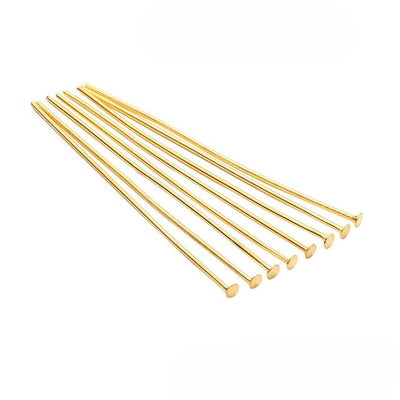
- Gold Plated Flat End Headpins 2 inchThe cane wire2
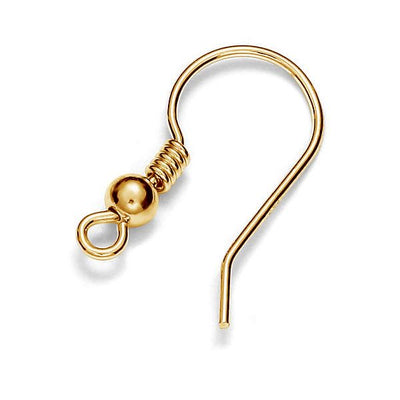
- Gold Plated Fish Hook Ear WiresThe earring hooks2
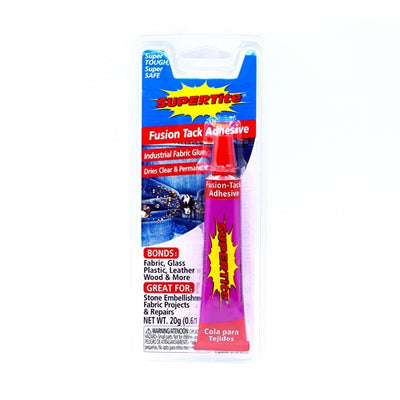
- Supertite Fusion Tack Glue KitSecuring the final bead1
- Bead MatStops dropped beads rolling away1
- Magic Sorting TrayHolding the two colours1
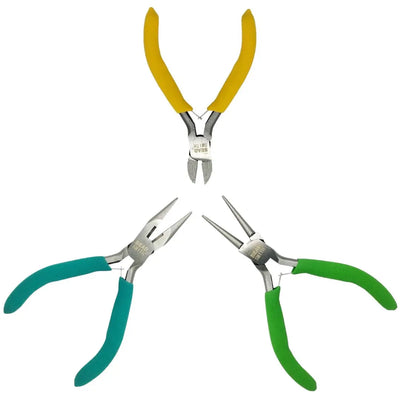
- Side CuttersTrimming the pin tip1
- Round Nose PliersOpening the ear wire loop1
- Chain Nose PliersGripping while you twist1
Shop this project
Everything you need for this build. Quantities are a guide, so adjust to your design.

Not sure how many crystals you need? Use our Crystal Calculator to estimate by surface area.
How to make candy cane earrings
Step 1: Gather your supplies
Arrange everything on your bead mat so dropped beads cannot roll away, and tip the two colours into the Magic Sorting Tray so each is easy to pick up as the pattern alternates.
Step 2: String the beads
Thread a Light Siam bead onto the headpin, then a White Opal Shimmer, and keep alternating red and white until only one red bead remains. The pattern starts and ends with red: five red and four white per earring, with the last red bead set aside for the tip.
Step 3: Shape the candy cane
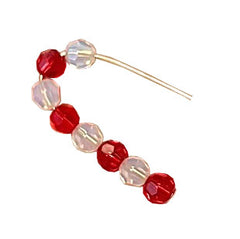
Using your fingers, gently ease the beaded pin into a candy cane curve, working a little at a time so the wire bends smoothly rather than kinking, and leaving space at the tip for the final bead. It should look something like this:
Step 4: Secure the final bead
Place a small dot of Fusion Tack glue on the exposed pin next to the last white bead and thread on the final red bead so it sits on the glue. Leave it to dry fully, then trim away the excess wire with the side cutters.
Step 5: Attach the ear wire
Use the round nose and chain nose pliers to gently twist open the loop at the bottom of the fish hook ear wire, slot the top of the candy cane onto the opened loop, and twist it closed again. Always twist loops open and closed rather than pulling them apart, which weakens the metal and makes the loop likely to break later.
Step 6: Make the matching pair
Repeat steps 2 to 5 for the second earring, shaping it against the first so the curve and length of the pair are in harmony.
Frequently asked questions
How do you make candy cane earrings?
Thread red and white beads alternately onto a flat end headpin, starting and ending with red, then gently bend the pin into a candy cane curve with your fingers. Glue the final bead at the tip, trim the excess wire once dry, and hook the cane onto an ear wire. Repeat for the matching earring.
What beads make the best candy cane stripes?
Small round beads in alternating red and white, and 4mm is the sweet spot: big enough to read as stripes, small enough to curve smoothly. We used Swarovski 5000 round beads in Light Siam and White Opal Shimmer, whose precision-cut facets make the stripes glitter like sugar.
How do you bend a headpin into a candy cane shape?
Use your fingers rather than pliers, easing the beaded pin into a gentle hook a little at a time so the wire curves smoothly instead of kinking. Leave space at the tip for the final bead, and shape the second earring against the first so the pair match.
How do you stop beads sliding off a headpin?
The flat end of the headpin holds the first bead, and at the open tip a small dot of glue under the final bead locks the whole row in place. Let the glue dry fully before trimming the excess wire with side cutters, and the beads cannot move.
Why should you twist loops open instead of pulling?
Pulling a loop outwards distorts the circle and fatigues the metal, so it never closes flush again and is far more likely to snap later. Twisting the ends sideways, like opening a door, keeps the loop round and lets it close back perfectly every time.
Make it your own
Swap the classic red and white for emerald and gold, or ice blue and white for a frostier cane. For more festive and earring makes, see the snowflake suncatcher and learn how to make heart drop earrings, or explore the full Craft Studio.


