

Looking to add some extra sparkle to your collectables? This guide shows you how to bedazzle a PEZ dispenser with Serinity non-hotfix flatback crystals, a fun, playful way to give a everyday novelty a unique, personalised touch. It is a small project with big sparkle.
It is an easy, beginner-friendly make, though the small surface rewards a steady hand. Here is everything you need, then the full method.
Project at a glance
- Difficulty: Beginner (simple technique on a small, fiddly surface)
- Time: Around an hour per dispenser, plus overnight to cure
- Crystals used: Serinity flatbacks in Jet, Rose and Crystal, sizes SS3 to SS9
- Best crystal type: Non-hotfix flatbacks, glue-set to the dispenser
Watch the tutorial
See this project come together. Watch the full make below, then scroll down for the kit list and step-by-step instructions.
What you'll need
Quantities suit a few dispensers, so scale them to yours. Add the crystals, glue and tools to your cart from the cards below. The picker and trays are reusable across every project, so browse the full range of tools and accessories to build your kit.
- PEZ dispensers (your own)Your base, see note below1+
- Serinity Non-Hotfix Flatbacks SS3, JetDetail100
- Serinity Non-Hotfix Flatbacks SS5, JetBody100
- Serinity Non-Hotfix Flatbacks SS6, JetBody100
- Serinity Non-Hotfix Flatbacks SS3, RoseDetail50
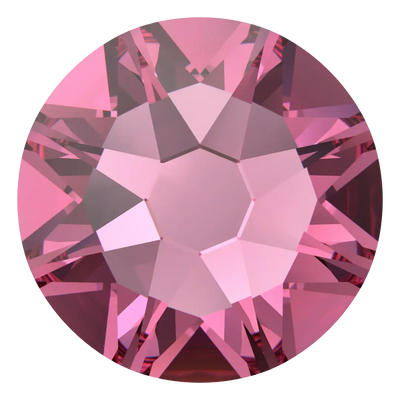
- Serinity Non-Hotfix Flatbacks SS5, RoseAccent50
- Serinity Non-Hotfix Flatbacks SS7, RoseAccent50
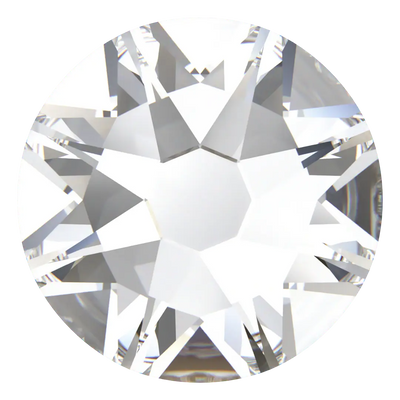
- Serinity Non-Hotfix Flatbacks SS9, CrystalHighlights50
- E6000 Plus Glue KitAdhesive with syringe1
- Wax Crystal Picker PenPlacing crystals1
- Magic Sorting TrayOrganising sizes7
Shop this project
Everything you need for this build. Quantities are a guide, so adjust to your design.

From £2.12 ex VAT

£9.53 ex VAT

£1.95 ex VAT

£5.12 ex VAT
Not sure how many crystals you need? Use our Crystal Calculator to estimate by surface area.
How to bedazzle a PEZ dispenser
Step 1: Gather your supplies and prepare the glue
Lay everything out and tip your flatbacks into the sorting trays, keeping each size in its own tray. Transfer a small amount of E6000 glue into the syringe for control, taking care not to overfill it, which causes air bubbles. If you see bubbles, gently squeeze out the air and a little glue before you start.
Step 2: Apply the glue in small sections
Work in small sections so the glue does not dry before you reach it. Apply a thin layer where you want your crystals, being careful not to use too much.
Step 3: Place the crystals
Use the wax picker to lift and place each flatback onto the dispenser. The surface is small, so move each crystal into its exact position before the glue gets too tacky, working the smaller sizes into tight or curved areas.
Step 4: Leave to dry
Once all the crystals are in place, leave the dispenser to dry overnight, and avoid touching or moving it during this time so the bond sets strong.
Step 5: Final touches
Inspect for any gaps or misplaced crystals. If you need to tidy up excess glue, use a little isopropyl alcohol on a cotton swab to clean it away.
Frequently asked questions
How do you bedazzle a PEZ dispenser?
Work in small sections, applying a thin layer of glue and placing flatback crystals one at a time with a wax picker. Because the surface is small and curved, position each crystal carefully before the glue tacks, then leave it to dry overnight before handling.
What size crystals suit small items like dispensers?
Smaller flatbacks, roughly SS3 to SS9, sit best on tiny, curved surfaces, letting you follow the shape without overhanging the edges. We used a mix of sizes so larger stones fill the flatter areas and the smallest tuck into tight spots.
How do you clean up excess glue?
Keep a cotton swab and a little isopropyl alcohol to hand. If glue squeezes out around a crystal, lift the excess with the swab before it cures. A careful, thin application from the syringe is the best way to avoid mess in the first place.
How do you crystal a small or curved surface neatly?
Glue only a small area at a time so it does not dry before you reach it, and place crystals while you can still nudge them into line. Use the smallest sizes around curves and edges, and check each section is flat before moving on.
Should I use hotfix or non-hotfix crystals?
Non-hotfix, glue-set flatbacks. Hotfix crystals need heat to activate their backing, which would warp a plastic dispenser, so glue-set non-hotfix crystals are the safe choice for novelty items like these.
Which crystals and colours should I use?
Any flatback colours work; we used Jet, Rose and Crystal for a bold, pretty mix. We used our own Austrian-made Serinity flatbacks here, and you can also use premium Swarovski, Czech-made Preciosa or budget Estella in your chosen shades.
Make it your own
Pick colours to match each character, do a single shade, or a pattern. For more small-item sparkle, see our crystal pocket mirror and phone case projects, or explore the full Craft Studio.


