

Festive jewellery is a modern Christmas classic, but a handmade pair of earrings carries far more meaning than anything off the shelf. These Christmas angel earrings are built from a few Serinity crystal beads and a sterling silver wing charm, stacked on a single headpin to form a tiny sparkling angel. When someone asks where you bought them, you can say you made them yourself.
The design is beginner-friendly and uses Crystal AB throughout for a glittering, ethereal look. The drop bead forms the angel's gown, so it is the easiest part to recolour if you want a whole choir of angels in different shades, or a birthstone version for a personal gift. Here is everything you need, then the simple steps.
Project at a glance
- Difficulty: Beginner, a great first wired-bead project
- Time: Around 30 minutes for the pair
- Crystals used: Serinity Crystal AB round and drop beads, with a Preciosa crystal rondelle halo
- Technique: Threading a beaded headpin and turning a simple loop
What you'll need
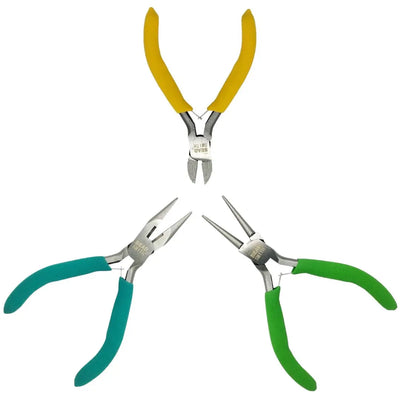
The quantities below make one pair. Add the beads, charm and findings to your cart from the cards underneath. The round nose pliers and side cutters are reusable across every jewellery project, so browse the full range of tools and accessories to build your kit.
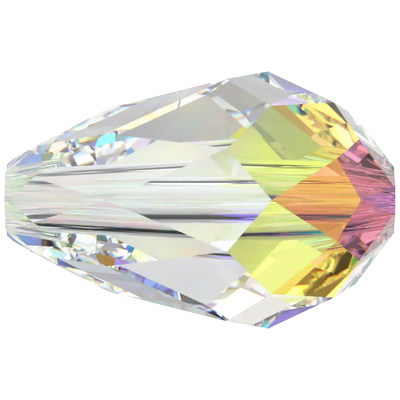
- Drop Bead 5500, 9mm, Crystal ABThe angel's gown2
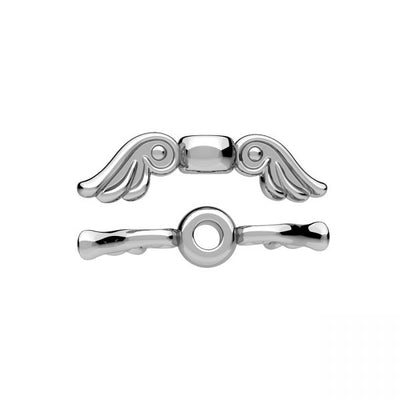
- Sterling Silver Double Wing Charm, 18mmThe angel's wings2
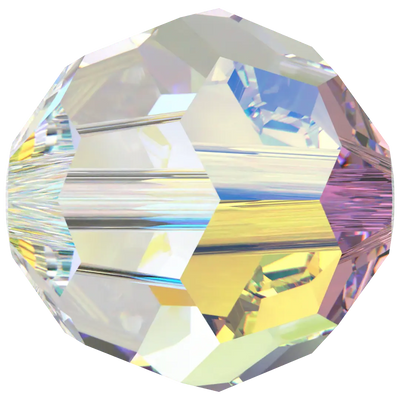
- Serinity Round Bead 5000, 4mm, Crystal ABThe angel's head2
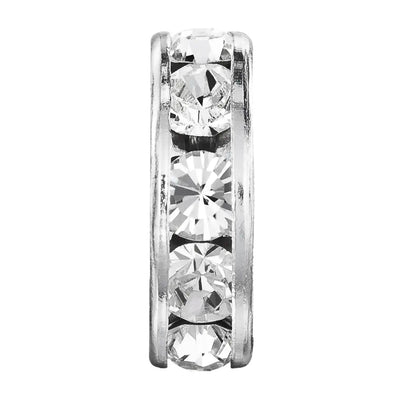
- Preciosa Crystal Rondelle, 4.5mmThe glittering halo2
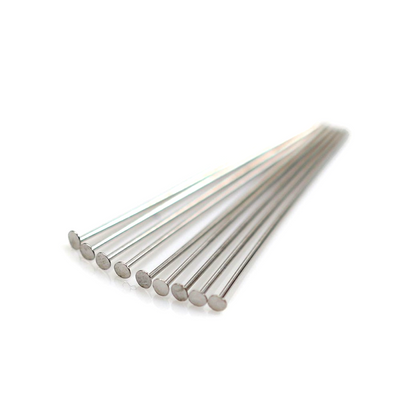
- Silver Plated Flat End Headpins, 1 inchThe body the beads sit on2
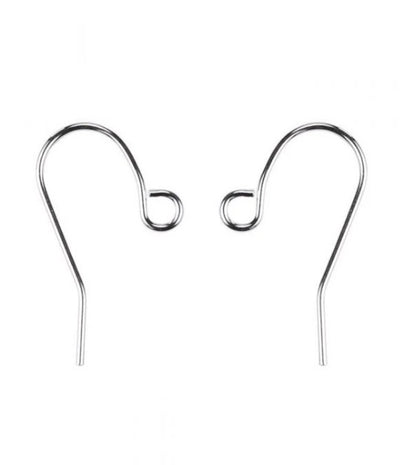
- Silver Plated Fish Hook Ear WiresFor hanging the angels1 pair
Shop this project
Everything you need for this build. Quantities are a guide, so adjust to your design.
Not sure how many crystals you need? Use our Crystal Calculator to estimate by surface area.
How to make Christmas angel earrings
Step 1: Thread the angel
Take a headpin and thread the beads on in order, working from the flat end upwards: first the drop bead point down for the gown, then the wing charm, then the round bead for the head, and finally the rondelle on top as a glittering halo. Sit everything snugly together so there are no gaps along the wire.
Step 2: Turn the loop
Bend the wire to a right angle just above the rondelle, then use round nose pliers to roll the end into a small, neat loop. Trim away any excess wire with side cutters. This loop is what the ear wire will hang from, so keep it round and fully closed at the base.
Step 3: Attach the ear wire
Open the loop on the fish hook ear wire by twisting it sideways, never pulling it apart, as a twisting motion keeps the metal strong. Hook on your beaded angel, then twist the loop closed again. Pulling a loop open stretches and weakens the wire, so always twist.
Step 4: Make the matching earring
Repeat every step to build the second angel, checking it against the first so the pair hangs at the same length. Give both loops a gentle squeeze to confirm they are closed, and your Christmas angel earrings are ready to wear or wrap.
Frequently asked questions
How do you make Christmas angel earrings?
Thread a drop bead, a wing charm, a round bead and a rondelle onto a headpin to form an angel shape, then turn a loop at the top with round nose pliers and trim the excess. Open the ear wire loop with a twist, hang the angel, and twist it closed. Repeat for the matching earring.
What beads make up the angel shape?
Each angel is four parts on one headpin: a 9mm Crystal AB drop bead for the flowing gown, a sterling silver double wing charm for the wings, a 4mm round bead for the head, and a small crystal rondelle sitting on top as the halo. Stacked in that order they read instantly as an angel.
Can I change the colours of the angel earrings?
Yes. The drop bead is the gown, so swapping its colour is the easiest way to restyle the angels. Crystal AB gives an ethereal shimmer, but you could make a whole choir in different shades, match an outfit, or use birthstone colours to turn the earrings into a personal keepsake gift.
How do you open a jump ring or loop without weakening it?
Always twist the loop sideways to open it, moving one side towards you and the other away, rather than pulling the ends straight apart. Pulling distorts the round shape and work-hardens the metal until it snaps. A twisting motion keeps the loop strong and lets it close cleanly.
Can I turn this design into an angel pendant?
Easily. Build the beaded angel on the headpin exactly as described, then instead of an ear wire, thread the top loop onto a chain or add a jump ring and bail. The same little angel works as a necklace, a zip charm or a hanging decoration for the tree.
What components and sizes do I need for one pair?
For two earrings you need two 9mm drop beads, two 4mm round beads, two crystal rondelles, two sterling silver wing charms, two one-inch flat end headpins and one pair of fish hook ear wires. You will also need round nose pliers and side cutters, which are reusable for future makes.
Make it your own
Angels are just the start of a handmade festive jewellery set. Keep the same simple-loop technique and build out the collection with matching pieces: see how to make Christmas tree earrings and candy cane earrings, or browse the full Craft Studio for more festive makes.


