

Want salon-worthy crystal nails that actually stay put? This guide shows you the crystal application technique for nails using Serinity flatback crystals, mixing round stones with raindrop, kite and navette shapes for a clean, balanced, long lasting design.
It is all about the right placement, the right amount of product and a proper seal, and once you have the method it works on any design. Our own Austrian made Serinity crystals come in a wide range of shapes and sizes, so you can build up detail and fill every gap neatly. Here is everything you need, then the full method.
Project at a glance
- Difficulty: Beginner
- Time: Around 20 to 30 minutes for an accent nail
- Crystals used: Serinity flatbacks in Crystal, mixing 14SS rounds with Raindrop, Kite and Navette shapes
- Best crystal type: Non-hotfix flatbacks, resin-set to gel nails
Watch the tutorial
See this project come together. Watch the full make below, then scroll down for the kit list and step-by-step instructions.
What you'll need
These are the crystal shapes and tools used in the tutorial, so adjust the mix to suit your design. Crystal shapes are sold in small packs, so a little goes a long way across a set. Add the crystals and tools to your cart from the cards below, and browse the full range of tools and accessories to build your kit.
- Prepped gel nailYour base, cleansed and ready1
- Serinity Flatbacks 14SS, CrystalRound stones1 pack
- Serinity Raindrop Flatbacks 6 x 1.7mm, CrystalShaped accents1 pack
- Serinity Kite Flatbacks 6.4 x 4.2mm, CrystalShaped accents1 pack
- Serinity Navette Flatbacks 4 x 2mm, CrystalShaped accents1 pack
- Mia Secret resinAdhesive for the crystals1
- Building or sealing gelSealing the crystals1
- Top coatFinal protection1
- Metal balls and charmsFilling gaps and adding dimensionas needed
- Wax pencil toolPicking up and adjusting crystals1
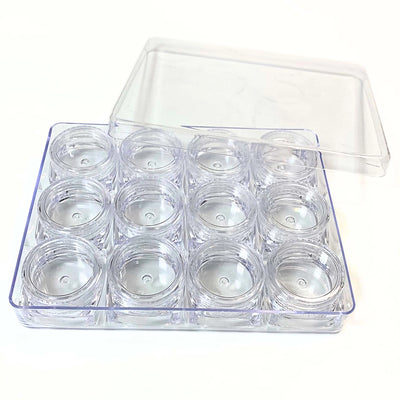
- Crystal trayOrganising crystals1
- Medium-size brushApplying the sealing gel1
- Lint-free wipes and alcoholCleansing the gel surface1
Shop this project
Everything you need for this build. Quantities are a guide, so adjust to your design.
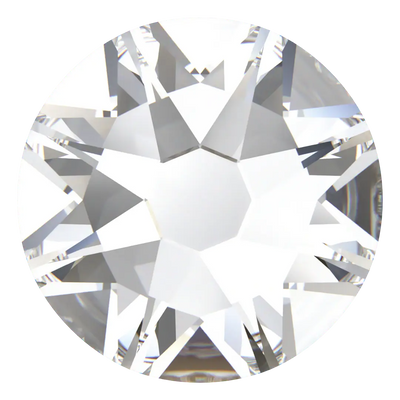
From £1.78 Excl. VAT
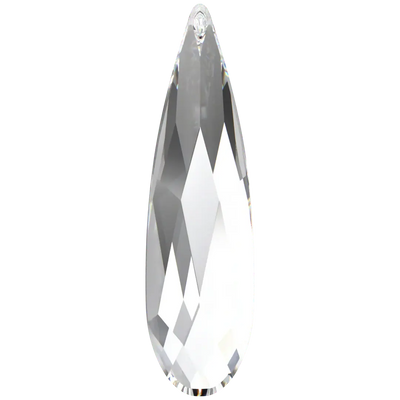
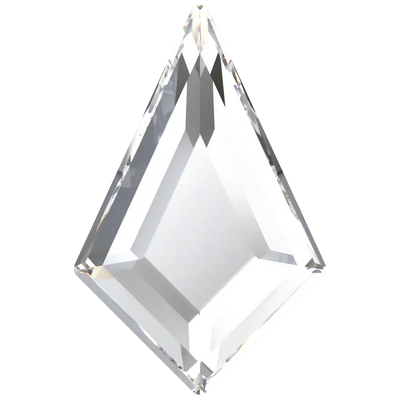
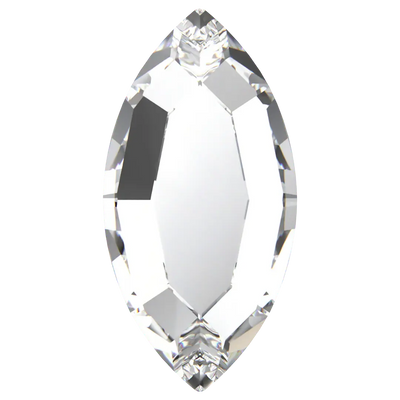

£1.95 Excl. VAT

£5.12 Excl. VAT
Not sure how many crystals you need? Use our Crystal Calculator to estimate by surface area.
How to apply crystals to nails
Step 1: Prepare your crystals
Choose the crystals you will use and lay them out in a crystal tray. Having everything prepared and within reach makes the application faster and far easier.
Step 2: Cleanse the gel surface
Before you begin, lightly cleanse the gel surface with a lint-free wipe and alcohol. This removes any residue and gives the crystals a cleaner surface to grip, which helps stop them sliding.
Step 3: Begin your application from the centre
Apply a small amount of Mia Secret resin at a time, as too much can spread over the crystals and dull their shine. Always start from the centre of the nail to keep the design symmetrical and balanced. If you need to reposition a stone, nudge it with the metal end of your wax pencil rather than the wax tip, which can stick to the crystal.
Step 4: Keep your crystals close together
As you work, place each crystal directly beside the last with no unnecessary gaps between them. Keeping the stones tight together gives a cleaner, more polished, professional finish.
Step 5: Add balls and charms
Once the main design is in place, add any metal balls and charms. These fill small spaces and bring dimension, texture and extra definition to the design.
Step 6: Seal your crystals
Now seal your work. Using a medium brush, carefully apply gel around the crystals, then cure under your lamp. Sealing secures the stones and stops them lifting, and keeps them from catching on clothing or hair.

Step 7: Apply top coat around the crystals
As the final step, apply top coat around the design and cure. Never apply top coat directly over the crystals: keeping it around them protects the nail while preserving the crystals' shine and brilliance. And that is it, a clean, secure, beautifully finished crystal application.
Frequently asked questions
How do you apply crystals to nails?
Cleanse the gel surface, then apply a small amount of resin and place your crystals one at a time, starting from the centre of the nail and keeping them close together. Add charms to fill gaps, seal around the stones with gel, and finish with top coat around, not over, the crystals.
How do you stop nail crystals falling off?
Two things: cleanse the surface first so nothing stops the resin gripping, and seal properly afterwards. Apply gel around each crystal with a brush and cure it, which locks the stones in and stops them lifting or catching on clothing and hair through the day.
Should you put top coat over nail crystals?
No. Keep top coat around the crystals, never over them. Top coat over the surface dulls the crystals and hides their shine, whereas sealing around them with gel protects the nail and holds the stones while letting them sparkle at full brilliance.
What crystals are best for nail art?
Flatback crystals, which sit flush against the nail. Mixing a round size like 14SS with shaped stones such as raindrop, kite and navette lets you build balanced, detailed designs. We used Serinity flatbacks in Crystal here for their clean cut and consistent sizing.
How do you keep a crystal nail design neat?
Work from the centre outwards to keep everything symmetrical, place each stone right beside the last with no gaps, and use only a little resin at a time so it does not flood over the crystals. Adjust stones with the metal end of your tool, not the sticky wax tip.
Can I use a different crystal brand or colour?
Yes. Any flatback shapes and shades work with the same method. We used our own Austrian made Serinity crystals here; you can also use premium Swarovski, Czech made Preciosa or budget Estella in the shapes and colours that suit your design.
Make it your own
Swap in coloured or AB crystals, mix in different shapes, or build the design across a full set. For more nail inspiration, see our Lucy and Chloe nail art designs, or explore the full Nail Studio.


