

To make a beaded pumpkin brooch, you draw the motif onto felt held taut in an embroidery hoop, sew a seed bead outline, fill it with concentric rows of beads, then back the piece with card and a brooch pin and finish the edge with a picot stitch. In this tutorial we embroider the pumpkin with Preciosa seed beads in Hyacinth orange and Hematite, genuine Czech-made rocailles in the chunkier 8/0 size.
Bead embroidery looks intricate but the brooch is built from one repeated stitch, and the card-backed construction keeps it crisp on a lapel for years. Here is everything you need, then the full method.
Project at a glance
- Difficulty: Beginner-friendly hand sewing, one stitch repeated
- Time: A relaxed weekend afternoon
- Beads used: Preciosa rocaille seed beads 8/0 in Hyacinth and Hematite
- Technique: Bead embroidery in a hoop, card-backed brooch construction, picot edge
What you'll need
One 20g bag of each colour covers the brooch shown. Add the seed beads, brooch pin and tools to your cart from the cards below. The needles, hoop and conditioner are reusable across every project, so browse the full range of tools and accessories to build your kit.
- Orange felt, plus thin cardboardThe brooch front, backing and structure1 each
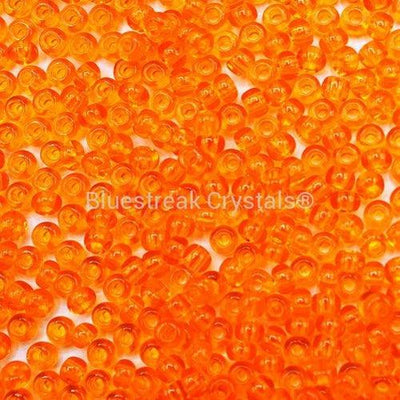
- Preciosa Seed Beads 8/0, HyacinthThe pumpkin body1 x 20g
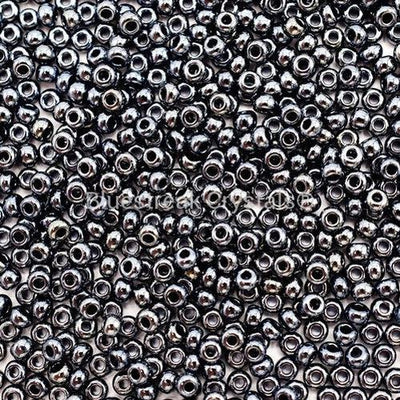
- Preciosa Seed Beads 8/0, HematiteThe dark details1 x 20g
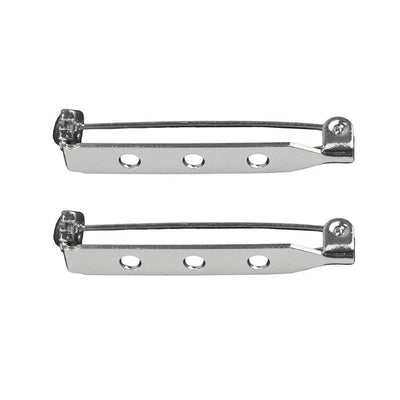
- Silver Plated Bar Brooch PinThe fastening1
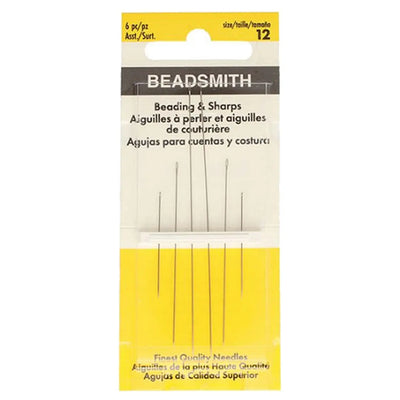
- Beading Needles Size 12Fine enough for 8/0 beads1
- Black or orange sewing threadMatch your beads1
- Embroidery hoopKeeps the felt taut while you stitch1
- Thread conditioner or beeswaxStops fraying and tangling1
- E6000 Plus GlueBonding the backing layers1
Shop this project
Everything you need for this build. Quantities are a guide, so adjust to your design.
£4.99 ex VAT
£3.50 ex VAT
£1.76 ex VAT
£7.80 ex VAT

£9.53 ex VAT
Not sure how many crystals you need? Use our Crystal Calculator to estimate by surface area.
How to make a beaded pumpkin brooch
Step 1: Secure your fabric
Fix the felt in an embroidery hoop so the surface is taut, which makes controlling the sewing far easier. Draw the pumpkin motif onto the secured fabric, using a paper cut-out as a template if you want to make more than one the same. Leave a margin of at least 3cm of fabric around the design on all sides; it gives you room to work and the excess is trimmed later.
Step 2: Condition your thread
Run your thread through a thread conditioner or beeswax several times before you begin. The waxy coating guards against fraying and decay over time, and conditioned thread tangles far less, so it is easier to work with.
Step 3: Start with the outline
Sew a line of seed beads along the drawn outline of the pumpkin to establish your shape.
Step 4: Choose your fill pattern
We used concentric lines of seed beads inside the outline, which gives the finished piece a uniform feel. A deliberate mix of bead sizes and types is a lovely alternative if you prefer a more organic texture.
Step 5: Fill the shape
Continue filling the remaining space with seed beads until you have solid coverage right up to the beaded outline on every side.
Step 6: Remove the hoop and trim
Take the felt out of the embroidery hoop and trim away the excess fabric, taking care not to cut through any of the stitches holding the outline beads in place.
Step 7: Prepare the backing
Choose a backing material in a matching felt or leather, plus a section of thin card for structure.
Step 8: Fit the pin and glue the layers
Cut small holes in the backing fabric and slot the brooch pin through, then glue the layers together with E6000 Plus. The card and the bar of the brooch pin should sit sandwiched between the two layers of fabric, centred behind the pumpkin design.
Step 9: Trim the edges
Trim the layered materials as close as you can to the sewn seed bead edge.
Step 10: Hide the edges with a picot row
Finish by hiding the raw edge under a row of seed beads worked in picot stitch, which decorates the rim and stitches the front and backing securely together at the same time.
Frequently asked questions
How do you make a beaded pumpkin brooch?
Draw a pumpkin onto felt held taut in an embroidery hoop, sew a seed bead outline along the line, then fill the shape with concentric rows of beads. Trim the felt, sandwich thin card and a brooch pin between the beaded front and a backing layer with glue, then hide the raw edge under a picot stitch row of beads.
How do you finish the back of a beaded brooch?
Cut a backing piece of felt or leather plus a section of thin card for structure. Slot the brooch pin through holes in the backing, then glue the layers together so the card and the bar of the pin sit sandwiched between the two fabrics, centred behind the design. The result is firm, neat and comfortable to wear.
What is a picot stitch edge?
A decorative beaded edging where small groups of beads are stitched in repeating points along the rim of a piece. On a brooch it does two jobs at once: it hides the raw trimmed edges of the fabric layers and physically stitches the front and backing together, so the finish is as strong as it is pretty.
Why use an embroidery hoop for bead embroidery?
The hoop holds the fabric taut, which keeps your tension even and the rows of beads sitting flat as you stitch. Leave a margin of at least 3cm of fabric around the design on all sides so the hoop has something to grip and you have room to work; the excess is trimmed away later.
What size seed beads are best for a brooch?
We used 8/0 rocailles, which cover ground noticeably faster than the finer 10/0 size while still following the curves of a small motif cleanly. Two colours are plenty: Hyacinth orange for the pumpkin and Hematite for the dark details, both with the glassy Preciosa finish that catches the light.
Make it your own
Swap Hyacinth for white beads and you have an elegant winter pumpkin, or work the same construction into a star, heart or initial. For more bead embroidery and brooch makes, see how to make a dragonfly brooch and a beaded heart brooch, or explore the full Craft Studio.


