


Electric Toothbrush Embellishment Project With Serinity Crystals
Use Serinity Crystals to transform your toothbrush with rhinestone embellishment and make sure no one ever confuses your brush with their own ever again! Follow the steps in this easy-to-follow guide and discover how glamorous your daily self-care routine can be!
Component List:
The full list of rhinestones, components and tools needed to complete this project can be found below. If you click on the product description (link), the respective product page will open, where each item can be viewed and added to cart:
| Component | Component Name / Link | Quantity |
 |
Electric toothbrush of your choice
|
x 1 |
 |
x 340 | |
|
|
x 15 | |
 |
E6000 Plus Glue Kit | x 1 |
 |
Wax Crystal Picker Tool | x 1 |

|
Magic Sorting Tray | x 1 |
 |
120 Grit Sandpaper | x 1 |
Instructions
Step 1
Prepare the toothbrush for embellishment
Ensure that the electric toothbrush is completely clean and ready for gluing. If the plastic surface is shiny and you’re aiming for full solid crystal coverage, we recommend gently sanding it until there is a rough key. This will help to give the glue a texture to securely grip to, however sanding is unnecessary for individual crystals.
Step 2
Set up the glue applicator with resin glue
Fill the Glue Syringe from the Resin Glue kit with enough E6000 Plus Resin Glue for your project, be careful to not take more glue than you need. The easiest way to do this is to place the end of the syringe inside the nozzle of the E6000 Plus glue tube and pull the plunger on the syringe while gently squeezing the tube of glue. This will transfer the glue from the tube to the syringe with minimal mess and exposure to the air.
Step 3
Guard against air bubbles in the resin glue
Once the glue is transferred you are likely to have a small air bubble in the syringe, hold the syringe vertically so that the bubble floats to the opening at top and gently push on the stopper, pushing the air out until there is only glue left inside. You can then attach the needle tip, completing the syringe. For this project we chose the 16 gauge purple applicator tip as it gives a smaller dot of glue.
Step 4
Apply one line of glue on the electric toothbrush
Use the loaded syringe to squeeze out a thin line of glue onto the electric toothbrush and leave it for a minute or two to get tacky. Be careful to not apply too much, otherwise you will risk the glue running in unwanted directions across the curving surface of the electric toothbrush. We also advise doing this stage in small sections when working on round, three dimensional objects to minimise the risk of accidentally touching the glue while it’s still wet.
Step 5
Begin placing the Serinity Crystals in a rhinestone embellishment style of your choice
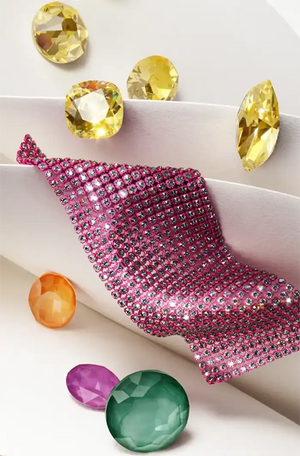
Use the Double Ended Wax Picker Pen to gently place the Serinity rhinestones onto the glue. On this electric toothbrush you can see we used the Honeycomb embellishment style because we wanted completely solid crystal coverage. If your toothbrush deviates from a perfectly even cylinder even by 1mm you will need to hide a seam where the main crystal size can no longer fit because of the fluctuating available space and fill the resulting gap with a smaller size of crystal. For this project we used SS5 because it was small enough to accommodate varying size of the gap. We recommend having the seam on the back of the item so that the perfect honeycomb is visible from the front.

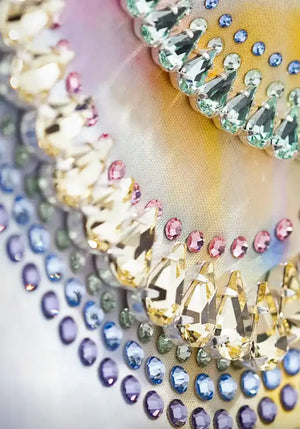
You can experiment with the “Gridlines”, “Honeycomb” or “scatter” embellishment styles and these will give different final looks and require different quantities and sizes of crystals. For more information on different embellishment styles, we recommend our Ultimate Guide To Rhinestone Embellishment which can be found on our website.
STEP 6
Allow the resin glue to fully dry
Tidy up any drifting glue and let it dry for minimum 2 hours, once the glue is dry your newly blinged electric toothbrush is ready to use!