
A blood drip choker is the perfect finishing touch for a Halloween or vampire costume: a delicate pearl choker with clusters of red beads dripping from it like fresh blood. This step-by-step guide shows you how to make one by hand using Preciosa pearls, red beads and a few simple jewellery-making techniques, so you finish with a one-of-a-kind piece sized perfectly to your neck.
It is an intermediate make rather than a quick craft, but every stage is photographed below. Treat the colours and the number of drips as a starting point and adjust them to taste. Here is everything you need, then the full method.
Project at a glance
- Difficulty: Intermediate
- Time: 2 to 4 hours
- Materials used: Preciosa pearls, beads and seed beads with Serinity briolette pendants (a multi-brand build)
- Good for: Halloween, vampire and gothic cosplay, or a statement costume piece
Watch the tutorial
See this project come together. Watch the full make below, then scroll down for the kit list and step-by-step instructions.
What you'll need
Quantities suit a standard choker, so scale them to your neck size and the number of drips you want. Add the materials and tools to your cart from the cards below. The pliers, bead board and cutters are reusable across every project, so browse the full range of tools and accessories to build your kit.
Materials
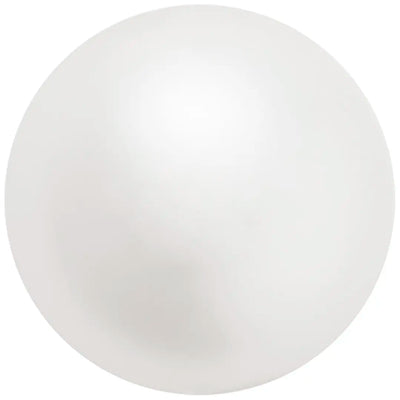
- Preciosa Round Pearls 6mm, WhiteThe choker base70
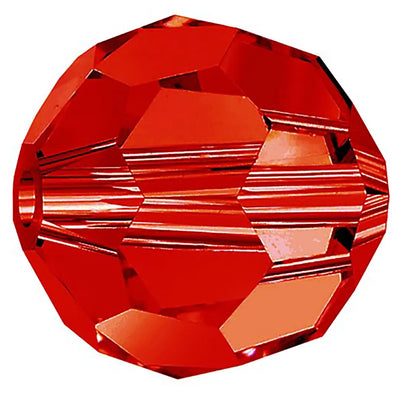
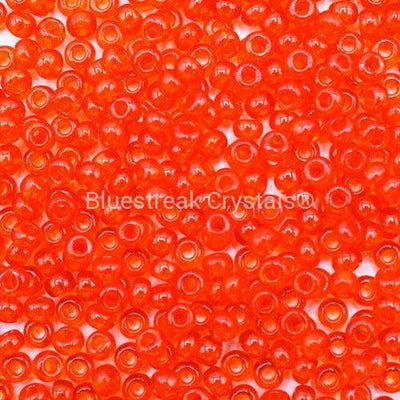
- Preciosa Round Beads 5mm, Light SiamBlood drips11
- Preciosa Round Beads 6mm, Light SiamBlood drips12
- Serinity Briolette Pendants 6010 13mm, SiamDrip tips3
- Preciosa Seed Beads Size 10, Light Red Silver LinedDrip detail20g
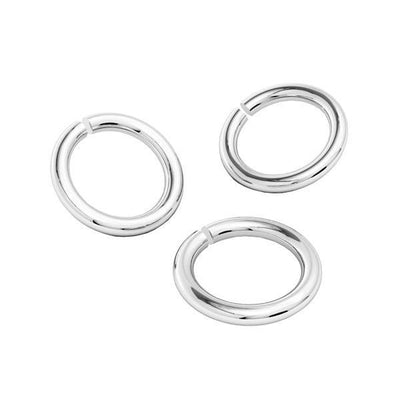
- Silver Plated Jump Rings 4mmFastening chain1 pack
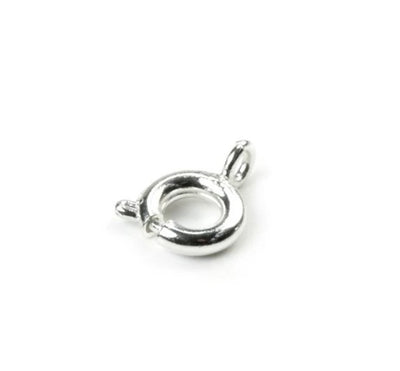
- Silver Plated Bolt Ring Clasp 6mmClasp1
- Illusion Cord, ClearStringing1
Tools
- Bead BoardLay out and measure the design1
- Round Nose PliersLoops and rings1
- Chain Nose PliersOpening jump rings1
- Crimp PliersSecuring findings1
- Thread CuttersTrimming cord1
- Tape MeasureSizing the choker1
Shop this project
Everything you need for this build. Quantities are a guide, so adjust to your design.
Not sure how many crystals you need? Use our Crystal Calculator to estimate by surface area.
How to make a blood drip choker
Step 1: Prepare your workspace
You will want a large, flat, well-lit area to spread out your tools and enjoy the calm focus that jewellery making needs. Lay down the bead board and sort your pearls and beads into the compartments so everything is easy to reach.
Step 2: Size the choker
Wrap a flexible tape measure around your neck at the tightness you want the choker to sit, then add about 2cm to allow for the width of the pearls. Note the measurement on the bead board, using its built-in markings to keep the length accurate.
Step 3: Lay out the pearls
Using the three grooves on the bead board, lay out the pearls and decide where the cluster of red beads will sit, as this is the blood-soaked section. Here is an example layout.

Step 4: Thread the pearls
Starting at one end of the top row, thread the pearls onto the illusion cord. When you reach the end of a row, continue down into the first two pearls of the next row and loop the cord round so you form a connected cluster of four pearls, then pass the cord through a second time and continue along the next strand. Repeat at the end of each row.

Step 5: Secure the thread
Once the three rows are woven together, tie a secure knot at one end, then pass the cord through a few more pearls before trimming the excess. Hiding the tail this way guards against loose ends working free.
Step 6: Add the blood drips
Tie on a fresh strand of illusion cord and thread it through a few pearls until it emerges where you want a drip. Add seed beads and the smaller round beads, and each time you place a bead, loop the cord around and back through it to lock it in position. Build the beads into clusters in whatever sequence looks best.

Step 7: Add the pendants
Finish each drip with a briolette pendant at the tip, then thread the cord back up through the beads to the choker. Move along to the next drip and repeat. We made three drips here, but add as many as you like. When you are done, tie off and conceal the tail as in step 5.
Step 8: Make the fastening
Open a jump ring by gripping it with two pliers and twisting the ends in opposite directions, which opens it without distorting the shape. Link jump rings together into a short chain, then attach the bolt ring clasp to one end with the same twisting method.

Step 9: Attach the clasp
Attach the free end of that short chain to the loop of illusion cord holding the top two rows of pearls together, again using the twisting method.
Step 10: Complete the back
Make a slightly longer jump-ring chain for the other side and connect it to the opposite end of the choker so it lines up with the clasp. Your choker is ready to wear.

Frequently asked questions
What is a blood drip choker?
It is a Halloween and cosplay jewellery piece: a pearl choker with clusters of red beads and pendants hanging from it to look like dripping blood. It pairs a pretty, classic pearl base with a gory twist, which is what makes it such a striking costume accessory.
What beads make the best blood drips?
A mix of sizes in red reads most like blood. We used 5mm and 6mm round beads in Light Siam, light red silver-lined seed beads, and faceted briolette pendants for the drip tips. Graduating from small seed beads down to a pendant gives each drip a natural tapered shape.
How long should a choker be and how do I size it?
Wrap a flexible tape measure around your neck at the tightness you want, then add about 2cm to allow for the width of the pearls. A choker sits high on the neck, so measure where you actually want it to rest rather than lower down.
Do I need special tools to make this?
A basic jewellery kit helps: chain nose and round nose pliers for opening jump rings and the clasp, thread cutters, and a bead board to lay out and measure your design. They make the build far easier and give a neater finish.
Can I use Swarovski pearls instead of Preciosa?
Yes. Preciosa pearls give a beautiful, high-quality finish that suits a seasonal piece. If you want to step up, genuine Swarovski pearls are a premium upgrade with consistent colour matching across reorders, ideal if you sell your pieces.
Is this project suitable for beginners?
It is an intermediate make. The threading and weaving take patience and the jump-ring fastening needs a little practice, but none of the techniques are difficult, and the step photos walk you through each stage.
Make it your own
The drips are where you can get creative: vary their length, add more of them, or shift the reds from bright to deep for a fresher or older look. For more Halloween jewellery, see our gothic skull earrings and bead bow choker projects, or explore the full Craft Studio.


