

A crystal dragonfly makes a brooch with real wow factor, and it is a lovely way to turn a scrap of felt into a keepsake accessory. This guide shows you how to make a crystal dragonfly brooch using Preciosa single stone settings, cup chain and flatbacks, built up on a felt base and finished with a sprinkle of crystal dust.
It brings together a few simple techniques, threading a beaded tail, gluing and stitching stones, and scattering loose crystals, so it is a satisfying project for anyone who likes a bit of everything. None of the steps are difficult on their own. Here is everything you need, then the full method.
Project at a glance
- Difficulty: Intermediate, several techniques combined
- Time: Two to three hours, plus glue drying time
- Crystals used: Preciosa single stone settings in navette, slim navette and baroque pear, plus cup chain, a Crystal AB flatback mix and Crystal Faerie dust
- Technique: Beaded tail, glued and stitched settings, scatter flatbacks and crystal dust on felt
What you'll need
Quantities make one brooch like ours, so scale to your design. Add the settings, cup chain, crystals and findings to your cart from the cards below. The pliers, needles, tray and picker are reusable across every project, so browse the full range of tools and accessories to build your kit.
- Your own grey feltFor the wings, two matching shapes1
- Preciosa Baroque Pear Setting, Crystal Silver 18x13mmBody centrepiece1
- Preciosa Baroque Pear Setting, Crystal Silver 8x6mmWing stones4
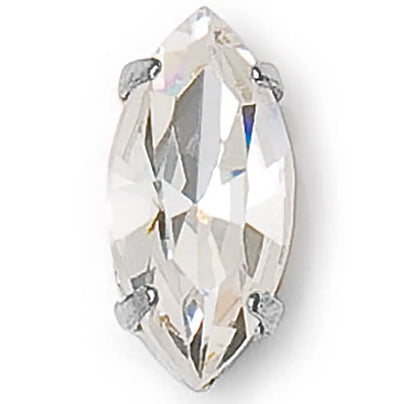
- Preciosa Navette Setting, Crystal Silver 8x4mmWing detail4
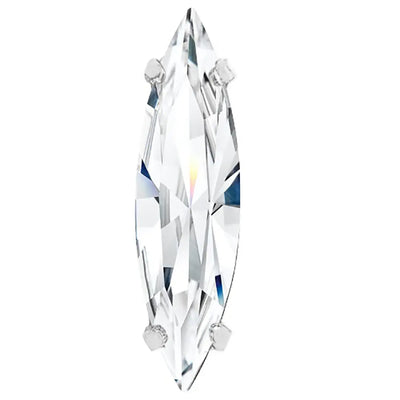
- Preciosa Slim Navette Setting, Crystal Silver 11x3mmLong wing veins4
- Preciosa Slim Navette Setting, Crystal Silver 15x4mmLong wing veins2
- Preciosa Cup Chain Round, Silver SS4.5Wing outlines50cm
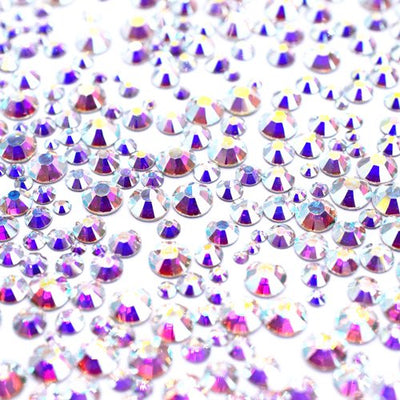
- Preciosa Non-Hotfix Size Mix, Crystal ABScatter accents1
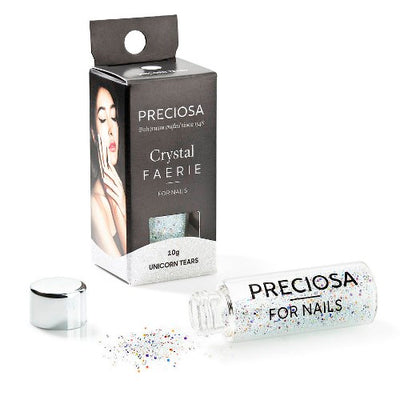
- Preciosa Crystal Faerie, Unicorn Tears 5gCrystal dust shimmer1
- Silver Plated Stardust Beads 4mmThe beaded tail8
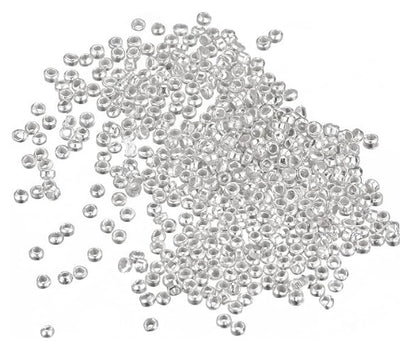
- Silver Plated Crimp Beads 2mmTail spacers7
- Silver Plated Flat End Headpins 2 inchTail core1
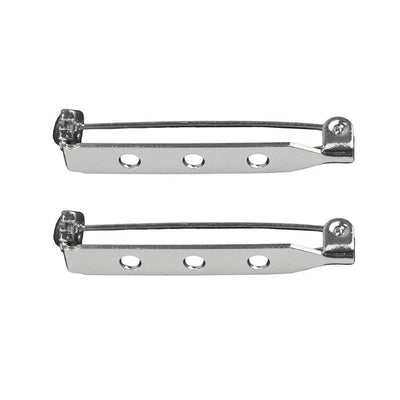
- Silver Plated Bar Brooch PinThe brooch back1
- E6000 Plus Glue KitBonding the crystals and felt1
- Grey Sewing ThreadStitching it all secure1
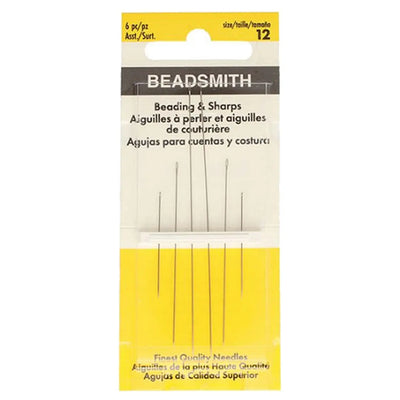
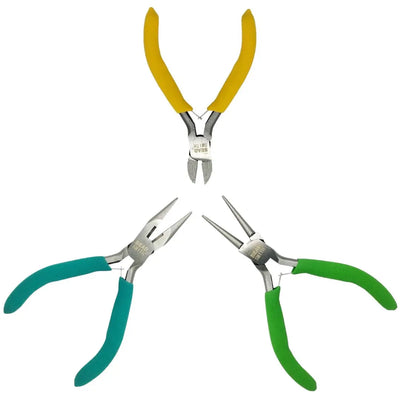
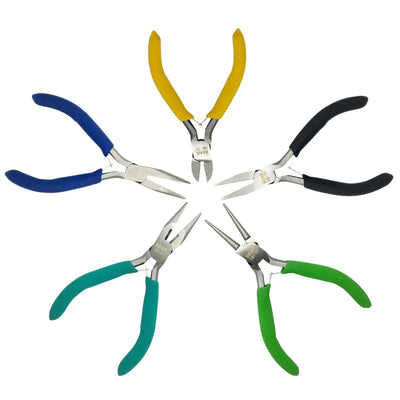
- Beading Needles, Round Nose Pliers, Side Cutters, Magic Sorting Tray, Wax Crystal Picker Tool, ScissorsReusable tools1 each
Shop this project
Everything you need for this build. Quantities are a guide, so adjust to your design.
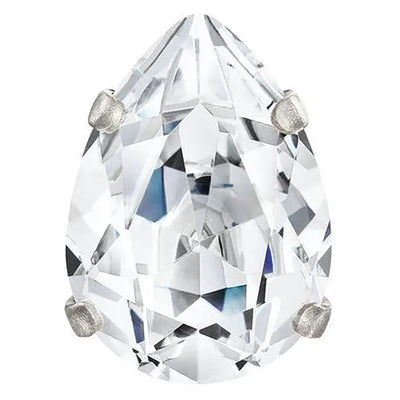
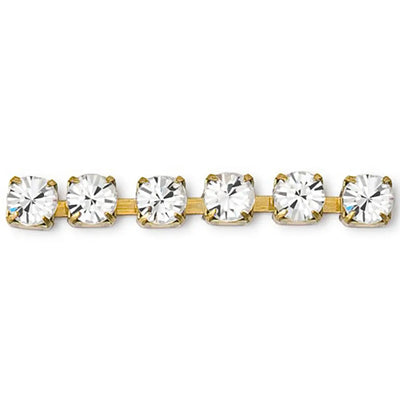
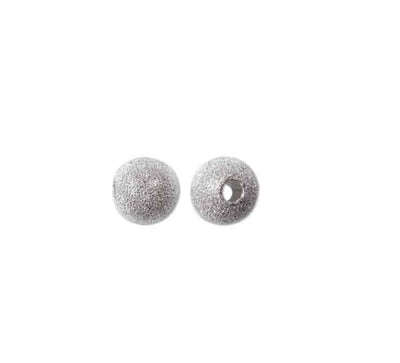
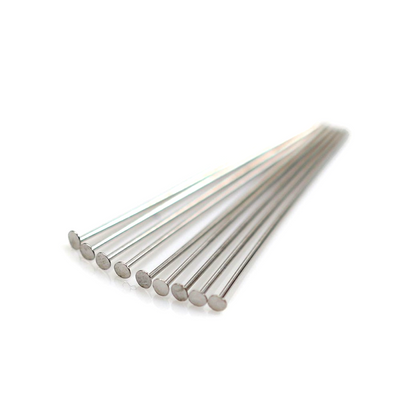

£9.53 ex VAT

£5.12 ex VAT

£1.95 ex VAT
£4.99 ex VAT
£9.20 ex VAT
£15.33 ex VAT
Not sure how many crystals you need? Use our Crystal Calculator to estimate by surface area.
How to make a crystal dragonfly brooch
Step 1: Cut the felt wings
Using scissors, cut two matching sets of wings from the grey felt. You will glue these together later with the tail sandwiched between, so keeping the pair the same size matters.

Step 2: Build the beaded tail
Take a headpin and thread on the stardust beads and crimp beads in an alternating pattern, starting and ending with a stardust bead, to make the dragonfly's body and tail.
Step 3: Loop the end
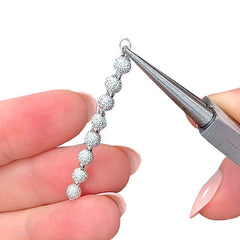
Using the round nose pliers, bend a neat loop at the open end of the headpin so the beads cannot slide off. Trim any excess wire with the side cutters.
Step 4: Sew the tail to the felt
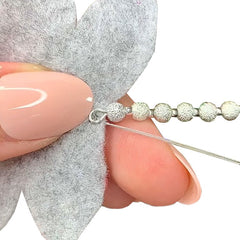
Thread a beading needle with grey thread. If you have a thread conditioner or a little beeswax, run the thread through it first to guard against fraying and tangling. Stitch the headpin loop firmly into position at the base of one wing set.
Step 5: Glue the felt layers
Using E6000 Plus, glue the two felt layers together with the tail sitting between them, which further locks the loop in place. Lay the dragonfly flat and let the glue fully set.
Step 6: Outline the wings with cup chain
Cut the cup chain to length with the side cutters. Pipe a careful glue outline around each wing with E6000 Plus, then lay the pre-cut cup chain onto the glue to trace the wing edges.
Step 7: Glue the stone settings
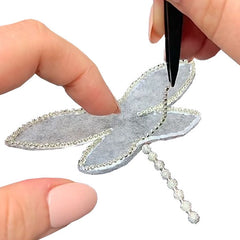
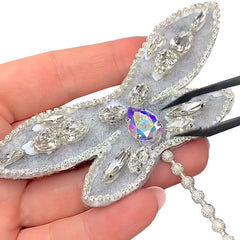
Glue the navette, slim navette and baroque pear settings into your chosen formation across the wings and body, using the larger baroque pear as the centrepiece. There are no rules here, so arrange them in whatever pattern you like best.
Step 8: Sew everything down
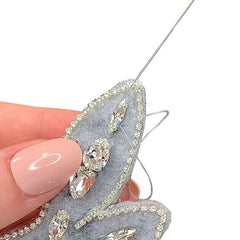
Once the glue is fully dry, use the needle and thread to stitch through the holes on the cup chain and every stone setting. Sewing as well as gluing is what makes the brooch hardwearing enough to wear again and again.
Step 9: Add the crystal dust
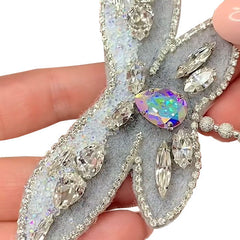
For extra shimmer, run a thin line of glue along the top of the wings, sprinkle Crystal Faerie Unicorn Tears onto the wet glue, then tip the brooch and shake gently so the excess falls away for reuse.
Step 10: Scatter the flatback crystals
Tip the Crystal AB size mix into the Magic Sorting Tray. Apply small dabs of glue to the felt, let them turn tacky, then use the wax picker tool to place the flatbacks in a scatter, flexing between sizes to fill the gaps between the settings.
Step 11: Attach the brooch pin
Once everything is dry, stitch the bar brooch pin to the back layer so it sits horizontally across the design. Position it with the needle end pointing right, which makes the clasp easier to operate for most people.
Frequently asked questions
How do you make a crystal dragonfly brooch?
Cut two felt wings, thread a beaded tail onto a headpin and sew it between the layers, then outline the wings in cup chain and glue on crystal settings. Stitch everything down for strength, add crystal dust and scattered flatbacks, and finish by sewing a bar pin to the back.
What crystals do you use to make a brooch?
This dragonfly uses genuine Czech-made Preciosa single stone settings in navette and baroque pear shapes, round cup chain for the wing outlines, a Crystal AB flatback size mix for scatter, and Crystal Faerie dust for shimmer. Settings and cup chain have stitching holes, so they can be glued and sewn.
How do you attach crystals to felt?
Glue first, then sew. A flexible resin glue such as E6000 Plus holds each stone and the cup chain in position while you work, and stitching through the setting holes afterwards makes the brooch durable. Flatbacks and crystal dust are glued only, as they have no holes to stitch.
What are single stone settings?
Single stone settings are individual crystals held in a metal mount with small holes around the edge. The holes let you stitch them securely onto fabric, so they suit brooches, costumes and garments far better than glue alone, and they come in shapes like navette, oval and baroque pear.
What is Preciosa Crystal Faerie?
Crystal Faerie is genuine Czech-made Preciosa crystal in an ultra-fine dust form. Each particle is precision-cut crystal, so it catches the light far more brilliantly than ordinary glitter. Sprinkled onto a line of glue, it adds a delicate shimmer between the larger stones on the wings.
Can I make a different design or use other colours?
Yes. The same build works for butterflies, bees or flowers, and Preciosa settings, cup chain and flatbacks come in many shapes and colours. Swap the clear Crystal stones for AB or coloured crystals, or change the felt colour, to make a brooch that is entirely your own.
Make it your own
A dragonfly is just one idea. The same felt-and-crystal method makes butterflies, bees, leaves or initials, and you can finish them as brooches, hair clips or bag charms. For more Preciosa makes, see the beaded bow choker and the wire heart decoration, or explore the full Craft Studio.


