


Few things turn heads like a fully crystallised figure, and this guide shows you how to bling a Sonic the Hedgehog figure with genuine Swarovski flatback crystals, working colour by colour across the shoes, gloves, chest and ears for a flawless, light-catching finish.
We use non-hotfix flatbacks throughout, because a figure cannot be ironed like fabric, so every stone is glued by hand. Crystals made by Swarovski® keep the facets and colour perfectly consistent across the piece. As an Authorised Swarovski Distribution Partner, every flatback we supply comes straight from Swarovski. Here is everything you need, then the full method.
Project at a glance
- Difficulty: Intermediate, patient flatback placement
- Time: About 2 hours, plus 12 hours to cure
- Crystals used: Swarovski flatbacks in Light Siam, Crystal Electric White Ignite and Silk
- Technique: Glued flatback crystal coverage
Watch the tutorial
See this project come together. Watch the full make below, then scroll down for the kit list and step-by-step instructions.
What you'll need
Quantities suit a figure like ours, so adjust them to your figure's size and how much you cover. Use our free Crystal Calculator to work out exact numbers before you buy. The picker and trays are reusable across every project, so browse the full range of tools and accessories to build your kit.
Materials
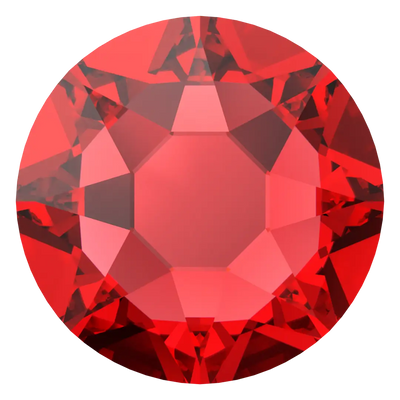
- Swarovski Flatback Crystals Non-Hotfix Light Siam SS5Red shoe detail1 pack
- Swarovski Flatback Crystals Non-Hotfix Light Siam SS7Red shoes2 packs
- Swarovski Flatback Crystals Non-Hotfix Light Siam SS9Red shoes1 pack
- Swarovski Flatback Crystals Non-Hotfix Light Siam SS12Red shoes2 packs
- Swarovski Flatback Crystals Non-Hotfix Crystal Electric White Ignite SS5White gloves and shoe trim8 packs
- Swarovski Flatback Crystals Non-Hotfix Crystal Electric White Ignite SS7White sections2 packs
- Swarovski Flatback Crystals Non-Hotfix Crystal Electric White Ignite SS9White sections2 packs
- Swarovski Flatback Crystals Non-Hotfix Crystal Electric White Ignite SS12Gloves2 packs
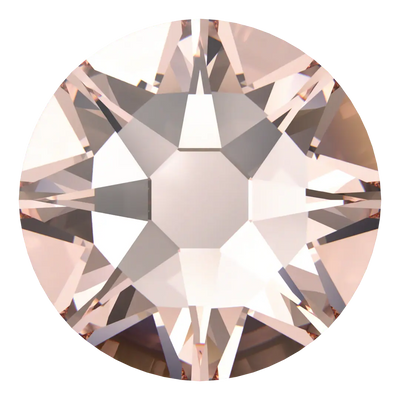
- Swarovski Flatback Crystals Non-Hotfix Silk SS5Chest and inner ears3 packs
- Swarovski Flatback Crystals Non-Hotfix Silk SS9Ear centres1 pack
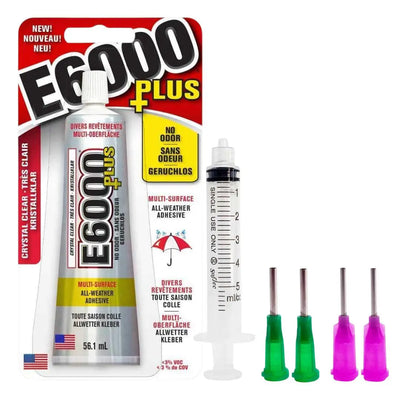
- E6000 Plus Glue KitBonding the crystals1
Tools
- Wax Rhinestone Picker PenPicking up and placing crystals1
- Magic Sorting TrayOrganising sizes and colours6
Shop this project
Everything you need for this build. Quantities are a guide, so adjust to your design.
From £2.23 ex VAT

From £2.23 ex VAT
£9.53 ex VAT

£1.95 ex VAT

£5.12 ex VAT
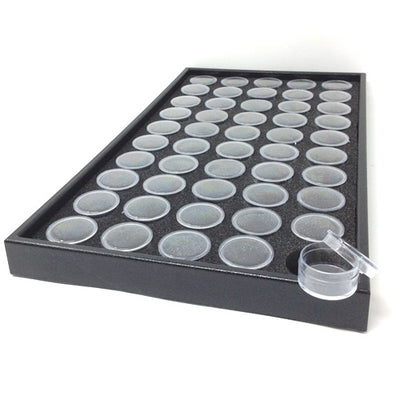
£28.99 ex VAT
Not sure how many crystals you need? Use our Crystal Calculator to estimate by surface area.
How to bling a Sonic the Hedgehog figure
Step 1: Prepare your glue and crystals
Load your E6000 glue into the syringe for neat, controlled application. Then sort the flatbacks you are starting with into the magic sorting trays: for the shoes you will need Light Siam in SS5 and SS7, and Crystal Electric White Ignite in SS5, SS7 and SS9.
Step 2: Glue the white sections of the shoes
Start with the white parts of the shoes. Apply a thin layer of glue and give it a moment to turn tacky. The thinner the layer, the faster it goes tacky and the neater your work looks, which matters most with the smaller flatbacks.
Step 3: Crystallise the red sections
Place your Crystal Electric White Ignite flatbacks, then move on to the red sections and repeat the same glue-and-place process with Light Siam. These areas are a little larger, so you can step up a size, but do not go too big on small areas or it starts to look untidy.

Step 4: Move on to the gloves
Once both shoes are done, start the gloves. You no longer need Light Siam here, only Crystal Electric White Ignite. Add SS12 to your sorting trays alongside the sizes you have already been using.
Step 5: Work the gloves carefully
The gloves have plenty of small, awkward spaces, so they take a little judgement and experience. Apply your glue, let it get tacky, then start at the back of the hand and work outwards. Stick to SS5 for the fingers and the tightest spots.

Step 6: Crystallise the chest
With the gloves finished, you only have the chest and ears left, and both use Silk in SS5 and SS9. Apply your glue to the chest and keep to SS5 across this section so it stays as neat as possible.
Step 7: Finish the inner ears
For the inner ears, place just two SS9 flatbacks at the very centre of each ear, then fill the rest with SS5. Keeping the larger stones to the centre gives the ears a tidy, graduated finish.
Step 8: Inspect and leave to cure
Go over the whole figure and nudge any flatbacks that need adjusting while the glue is still workable. Then leave your piece for 12 hours to cure fully before you display it. Congratulations, you have blinged one of gaming's most iconic characters.
Frequently asked questions
How do you bling a Sonic figure with crystals?
Bling a Sonic figure by working section by section: brush a thin layer of E6000 glue onto one area, let it turn tacky, then place Swarovski flatbacks with a wax picker. Do the shoes, then gloves, then chest and ears, and leave it to cure for 12 hours.
How many flatback crystals do I need for a figure?
It depends on the figure's size and which areas you cover, so measure each section and work it out before buying. Our free Crystal Calculator tells you how many flatbacks of each size you need for a given area, which saves both under-ordering and waste.
What glue should I use to crystallise a figure?
Use a strong, flexible adhesive like E6000 for a plastic or resin figure. Apply it in a thin layer and let it go tacky before placing each flatback, which speeds up setting and keeps the work neat. A thin, tacky layer also stops glue squeezing up around the stones.
What size crystals work on small, awkward areas?
Use SS5, the smallest common flatback, for fingers, tight curves and inner detail where a bigger stone would look clumsy. Step up to SS7, SS9 or SS12 only on larger, flatter areas. Matching stone size to the space is what keeps crystal coverage looking neat.
Which Swarovski colours suit a Sonic figure?
Light Siam gives the classic red of Sonic's shoes, Crystal Electric White Ignite is a bright opaque white for the gloves and shoe stripes, and Silk is a soft cream for the chest and inner ears. Together they match the character while keeping genuine Swarovski sparkle.
How long does the glue take to dry?
Leave a crystallised figure for about 12 hours to cure fully before handling or displaying it. E6000 sets touch-dry much sooner, but a full cure is what gives the strongest, most durable bond, so it is worth the wait before showing off your work.
Make it your own
The same glue-and-place method works on any figure, so match the colours to your favourite character. For more figure makes, see how to bedazzle Toy Story figures, or add crystals to a pair of shoes, or explore the full Craft Studio.


