Your Cart is Empty

How To Glue Rhinestones Onto A Metal Microphone

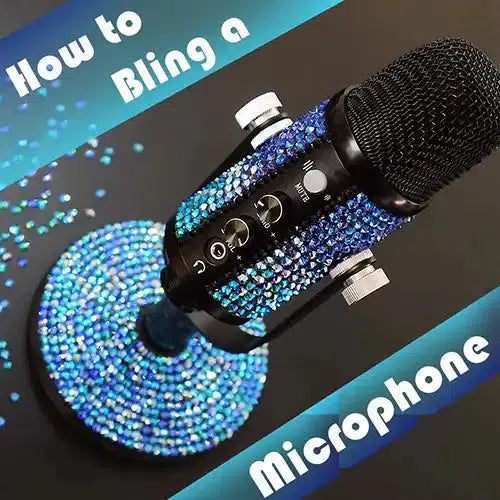
At Bluestreak Crystals we believe that crystals can transform any object, but sometimes a shiny surface might need some preparation or maybe the shape you want to bling might be awkward and you're not sure where to start. In the Bluestreak Studio we love a challenge and to tackle these obstacles, we have endeavoured to cover this metal microphone in rhinestones. The cylindrical shape of the microphone is unforgiving, the surface texture is shiny and ill-suited for glue and there are places on the microphone that could be hard to reach… but we know what to do!
In this short guide we offer several handy tips and tricks that will help you tackle even the most ambitious of crystal embellishment projects!
Preparation
First, we made sure the surface is clean and we disassembled the microphone because the multiple moving parts will get in the way. Because the surface is shiny, we buffed the areas we plan to bedazzle with sandpaper, being careful to only sand the bits that will be hidden under the rhinestones. This roughens the surface of the metal providing a ‘key’ which the glue will be able to grip on to.
Which Glue To Use
Now that the surface is rough, we have several glue options; we can use CG500 Two Part Epoxy Resin Glue which sets solid, hard wearing and water resistant which is the preferred choice of many crystal tumbler embellishers. We can also use Ninja SuperTite Fusion Tack, which is designed to work on multiple surfaces, ranging from fabric to glass and will dry faster than the resin glue.
Serinity Flatback Crystals
We ensured our crystals were stored safely in Magic Sorting Tray, ready for embellishment before we started applying any glue. For this we used Serinity Flatback Crystals in SS16 Blue Zircon Shimmer, SS16 Royal Blue DeLite, SS16 Sapphire SS16 and Sapphire AB. To apply the crystals, we used the Double Ended Wax Picker Pen, which makes the task of picking up and placing rhinestones as easy as writing with a pencil.
On 3D or irregular shapes, it’s important to place the crystals strategically and in the right order. On the base we started on the outside edge and worked our way into the centre and on the microphone we used a ruler to give ourselves a straight edge on which to build the rest of the design. We used the metal tip of the Picker Pen to nudge the flat back crystals into any tricky areas and on the cylinder we blinged in sections and let each section dry before continuing, so that our hand wouldn’t displace any previously positioned crystals.
YouTube Tutorial
Watch us embellish the base of the microphone with rhinestones on our YouTube channel and follow us on TikTok and Instagram to keep up to date with our latest tutorials!
Check out our most popular Serinity Flatback Rhinestones Crystals
